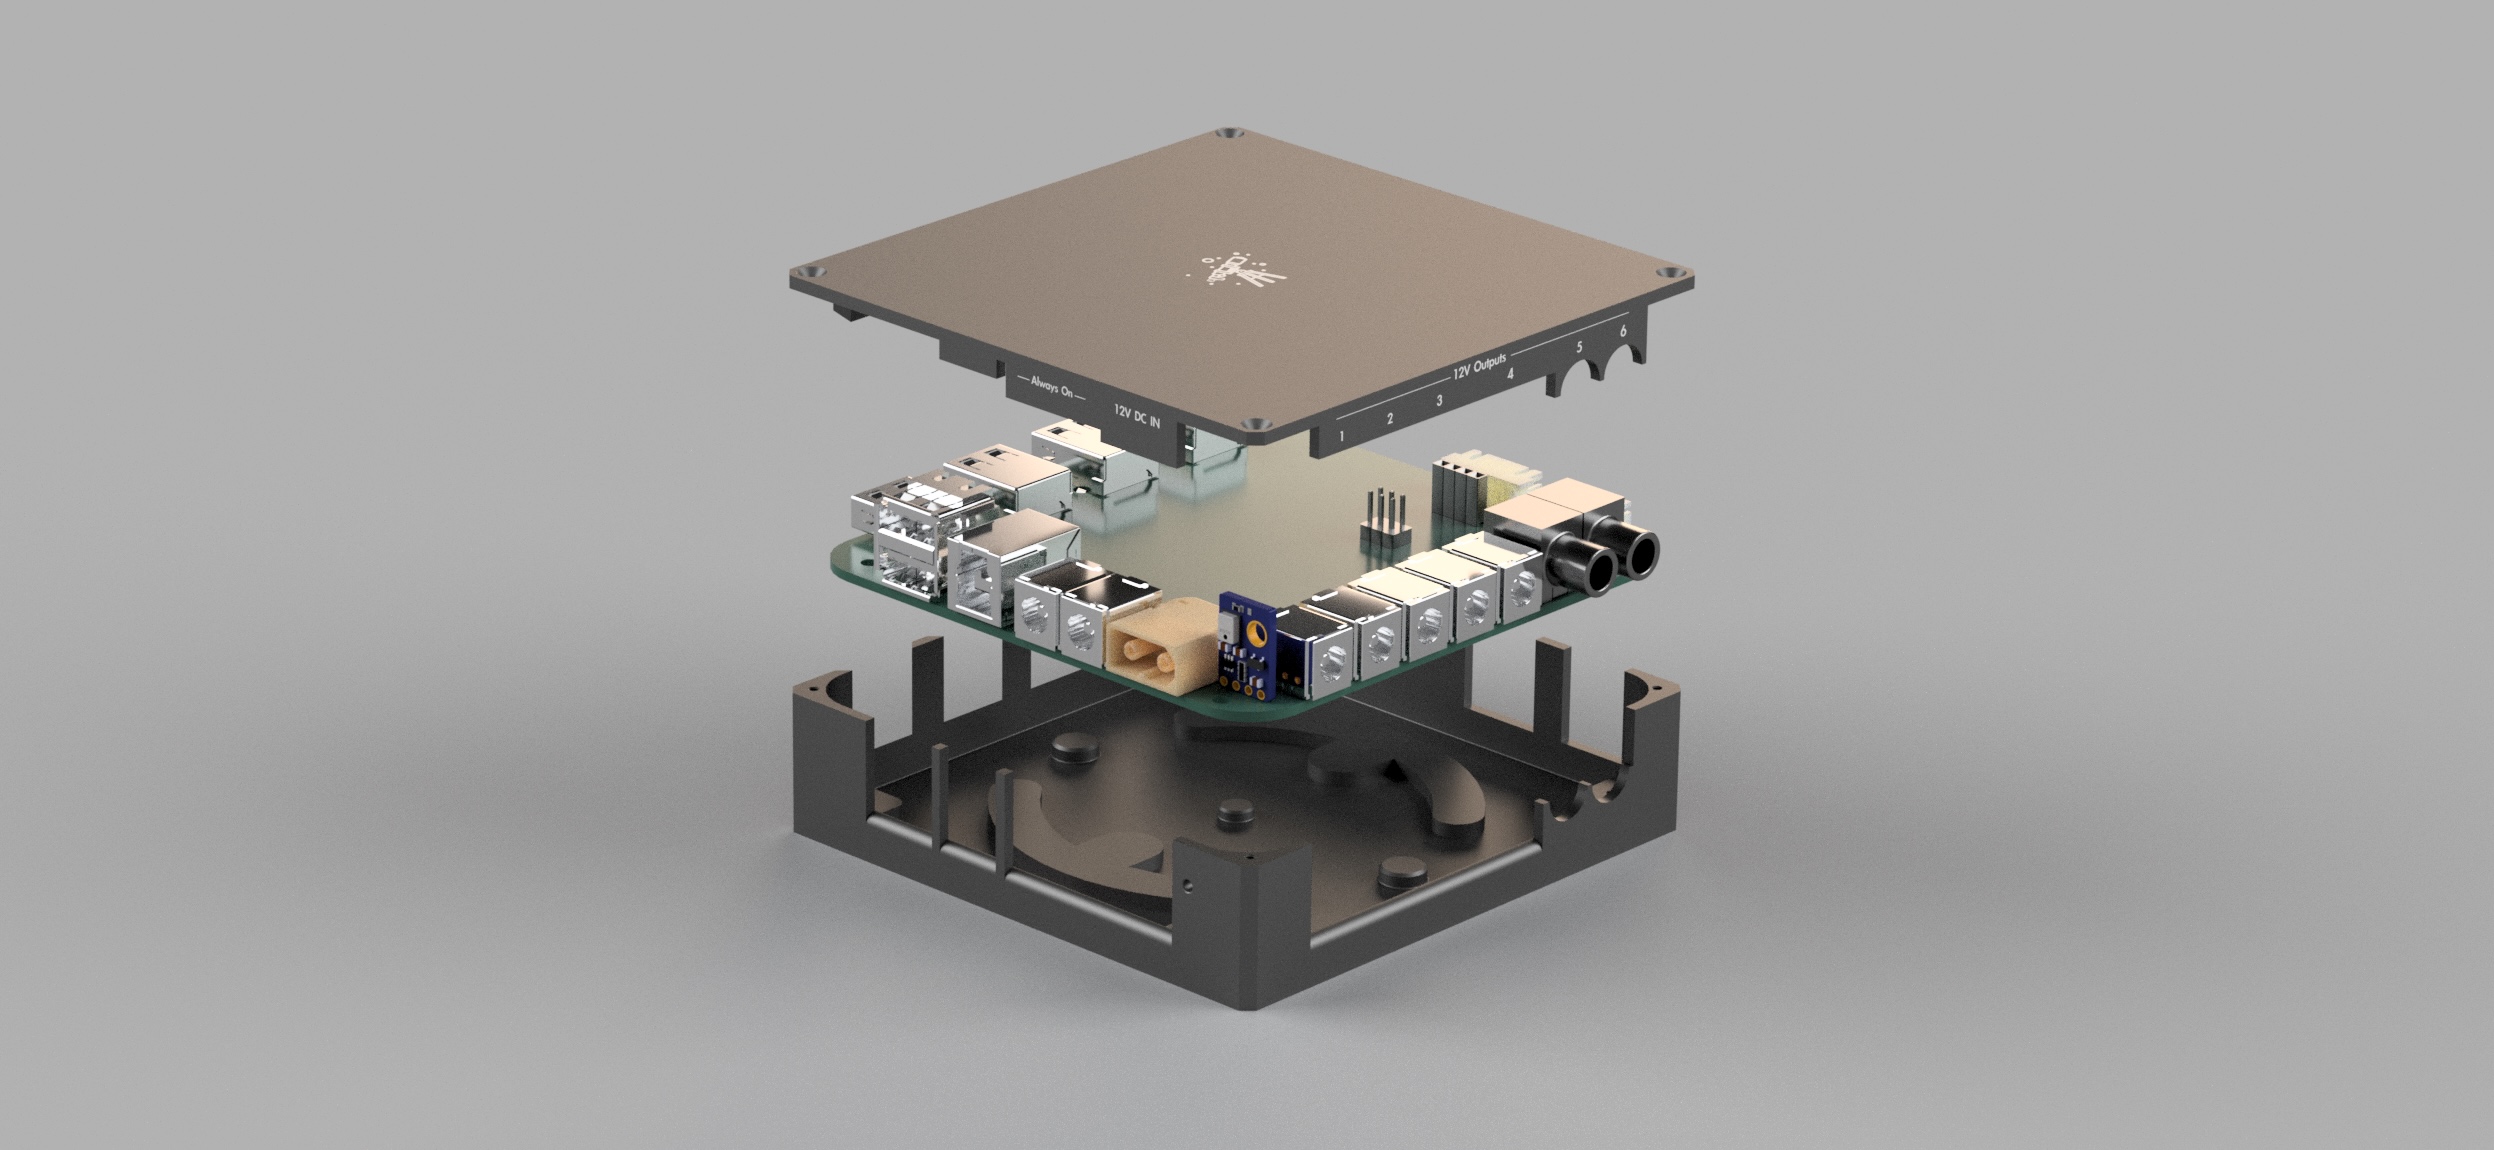
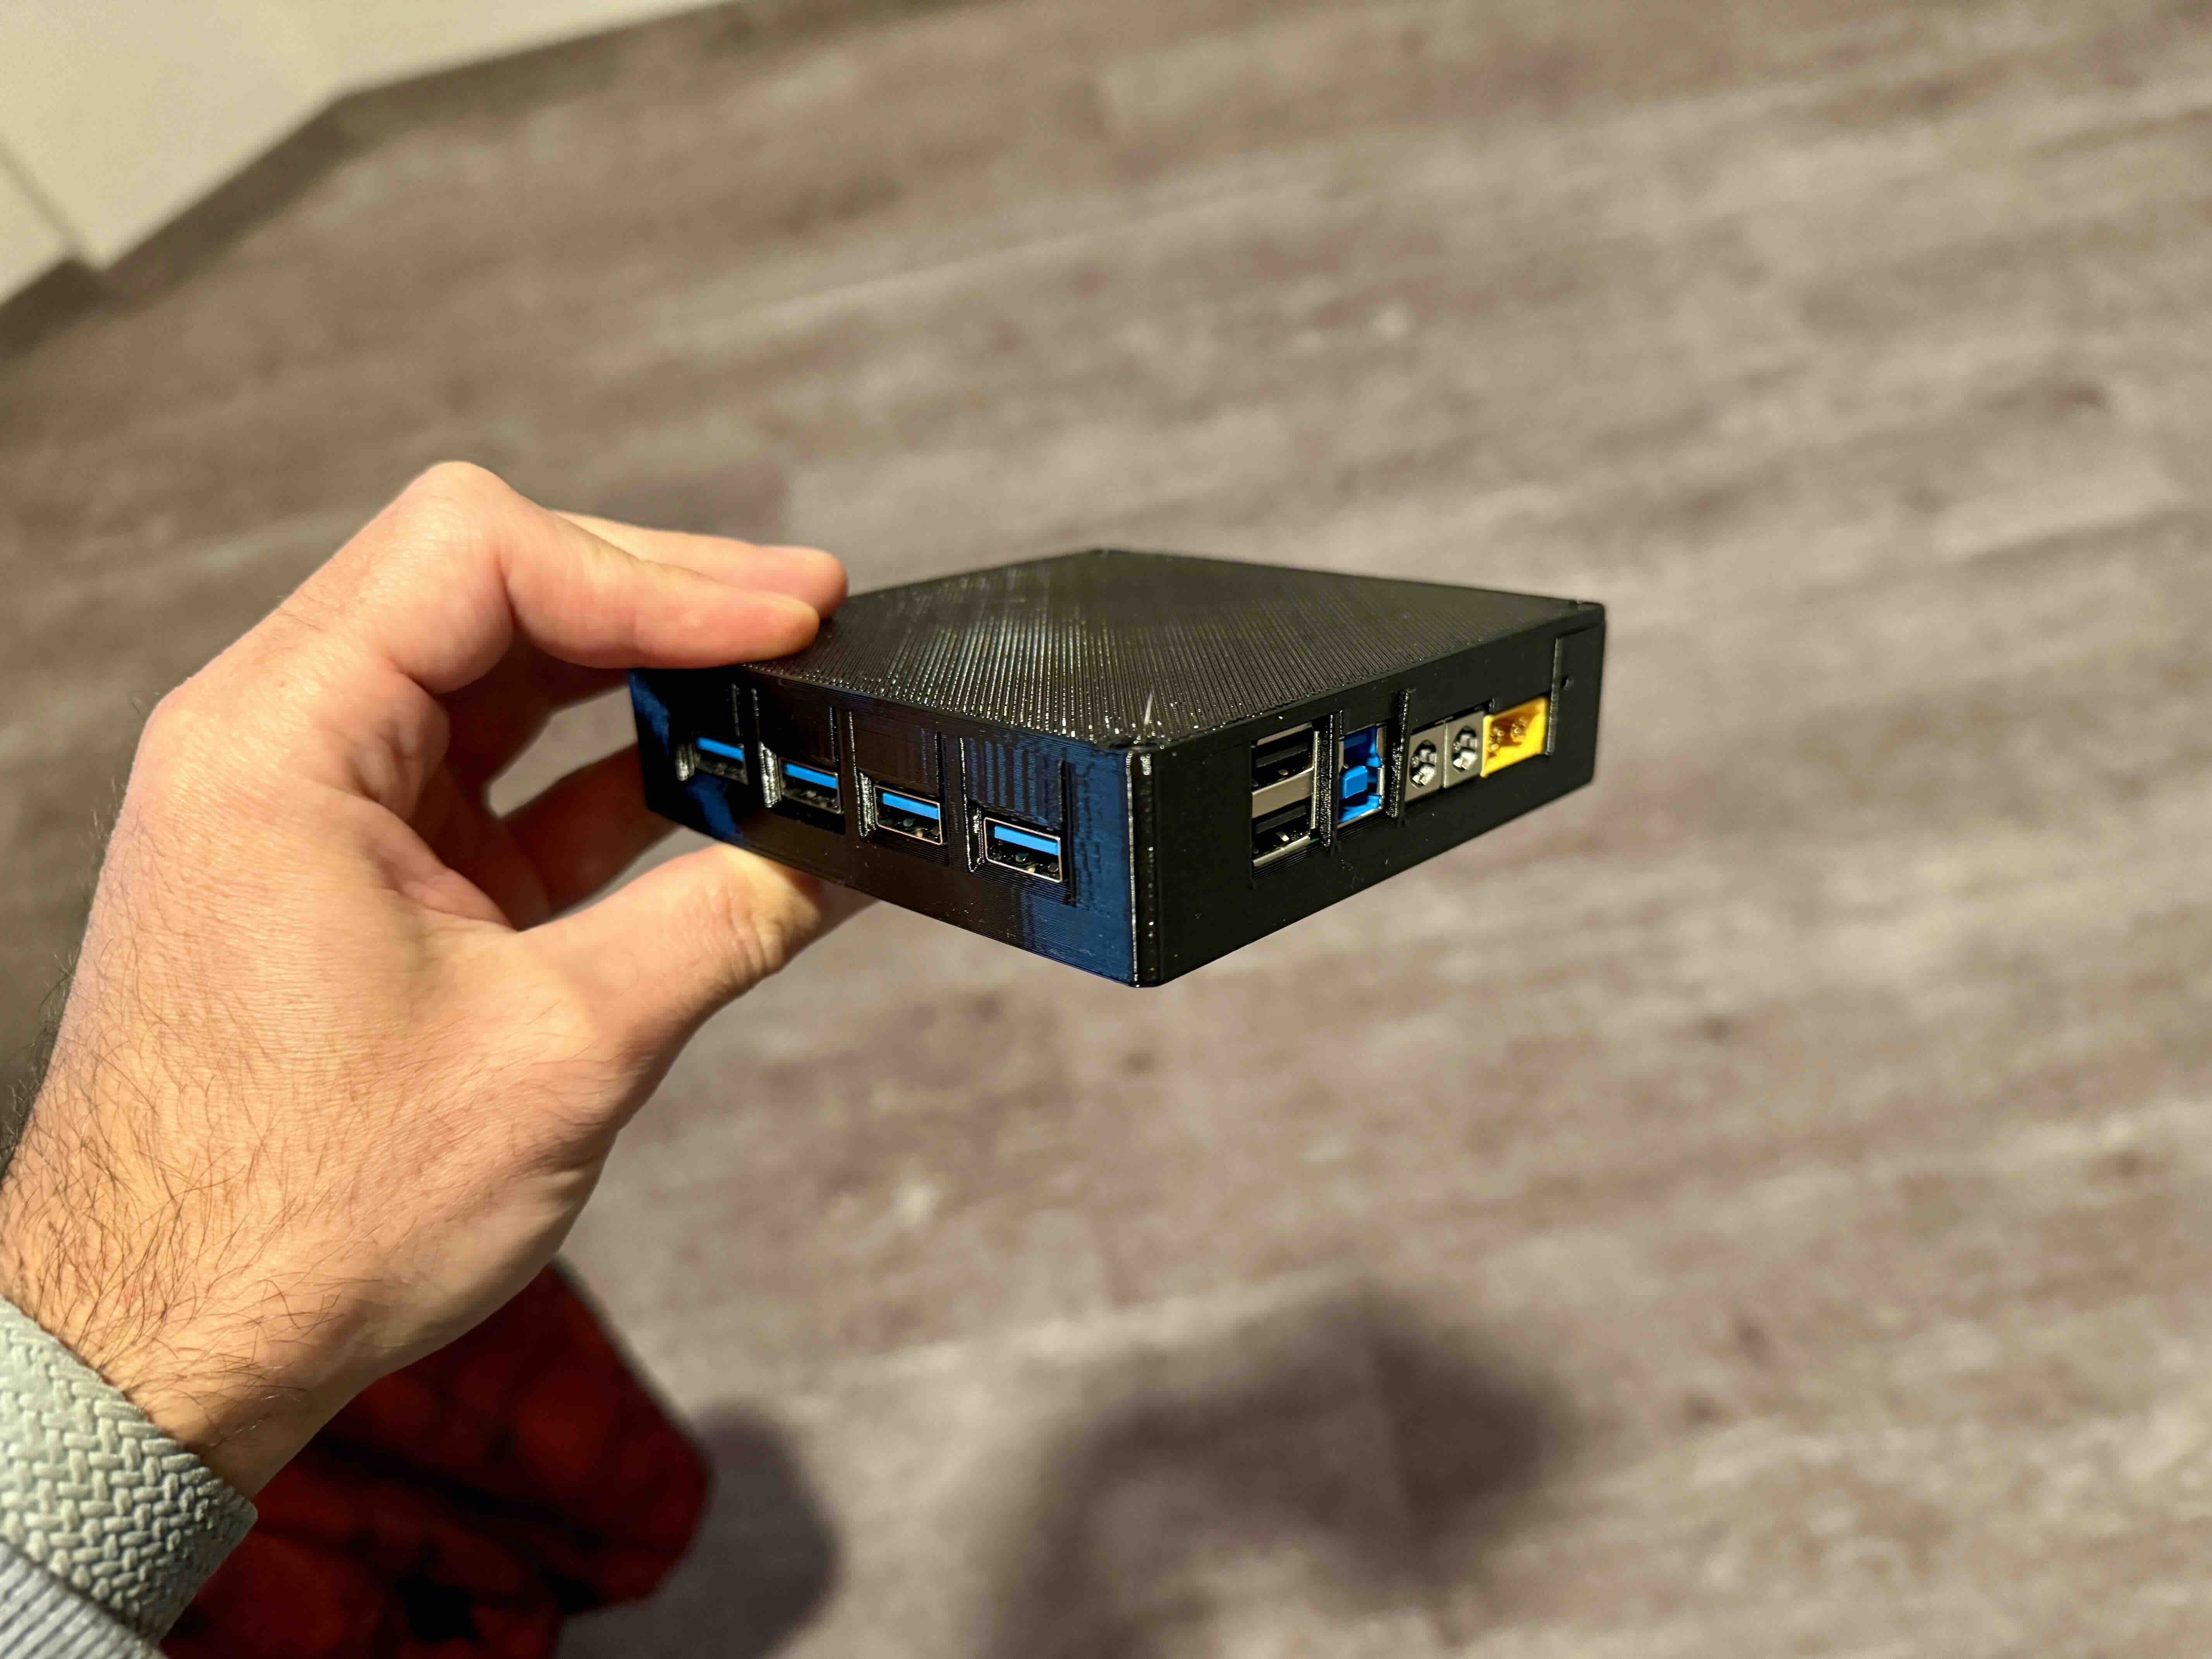
The enclosure transforms this from a DIY project into something that actually looks like a real product. Your choice of material impacts durability, heat dissipation, ease of use, and aesthetics.
CNC Machining (Premium Choice)
Pros:
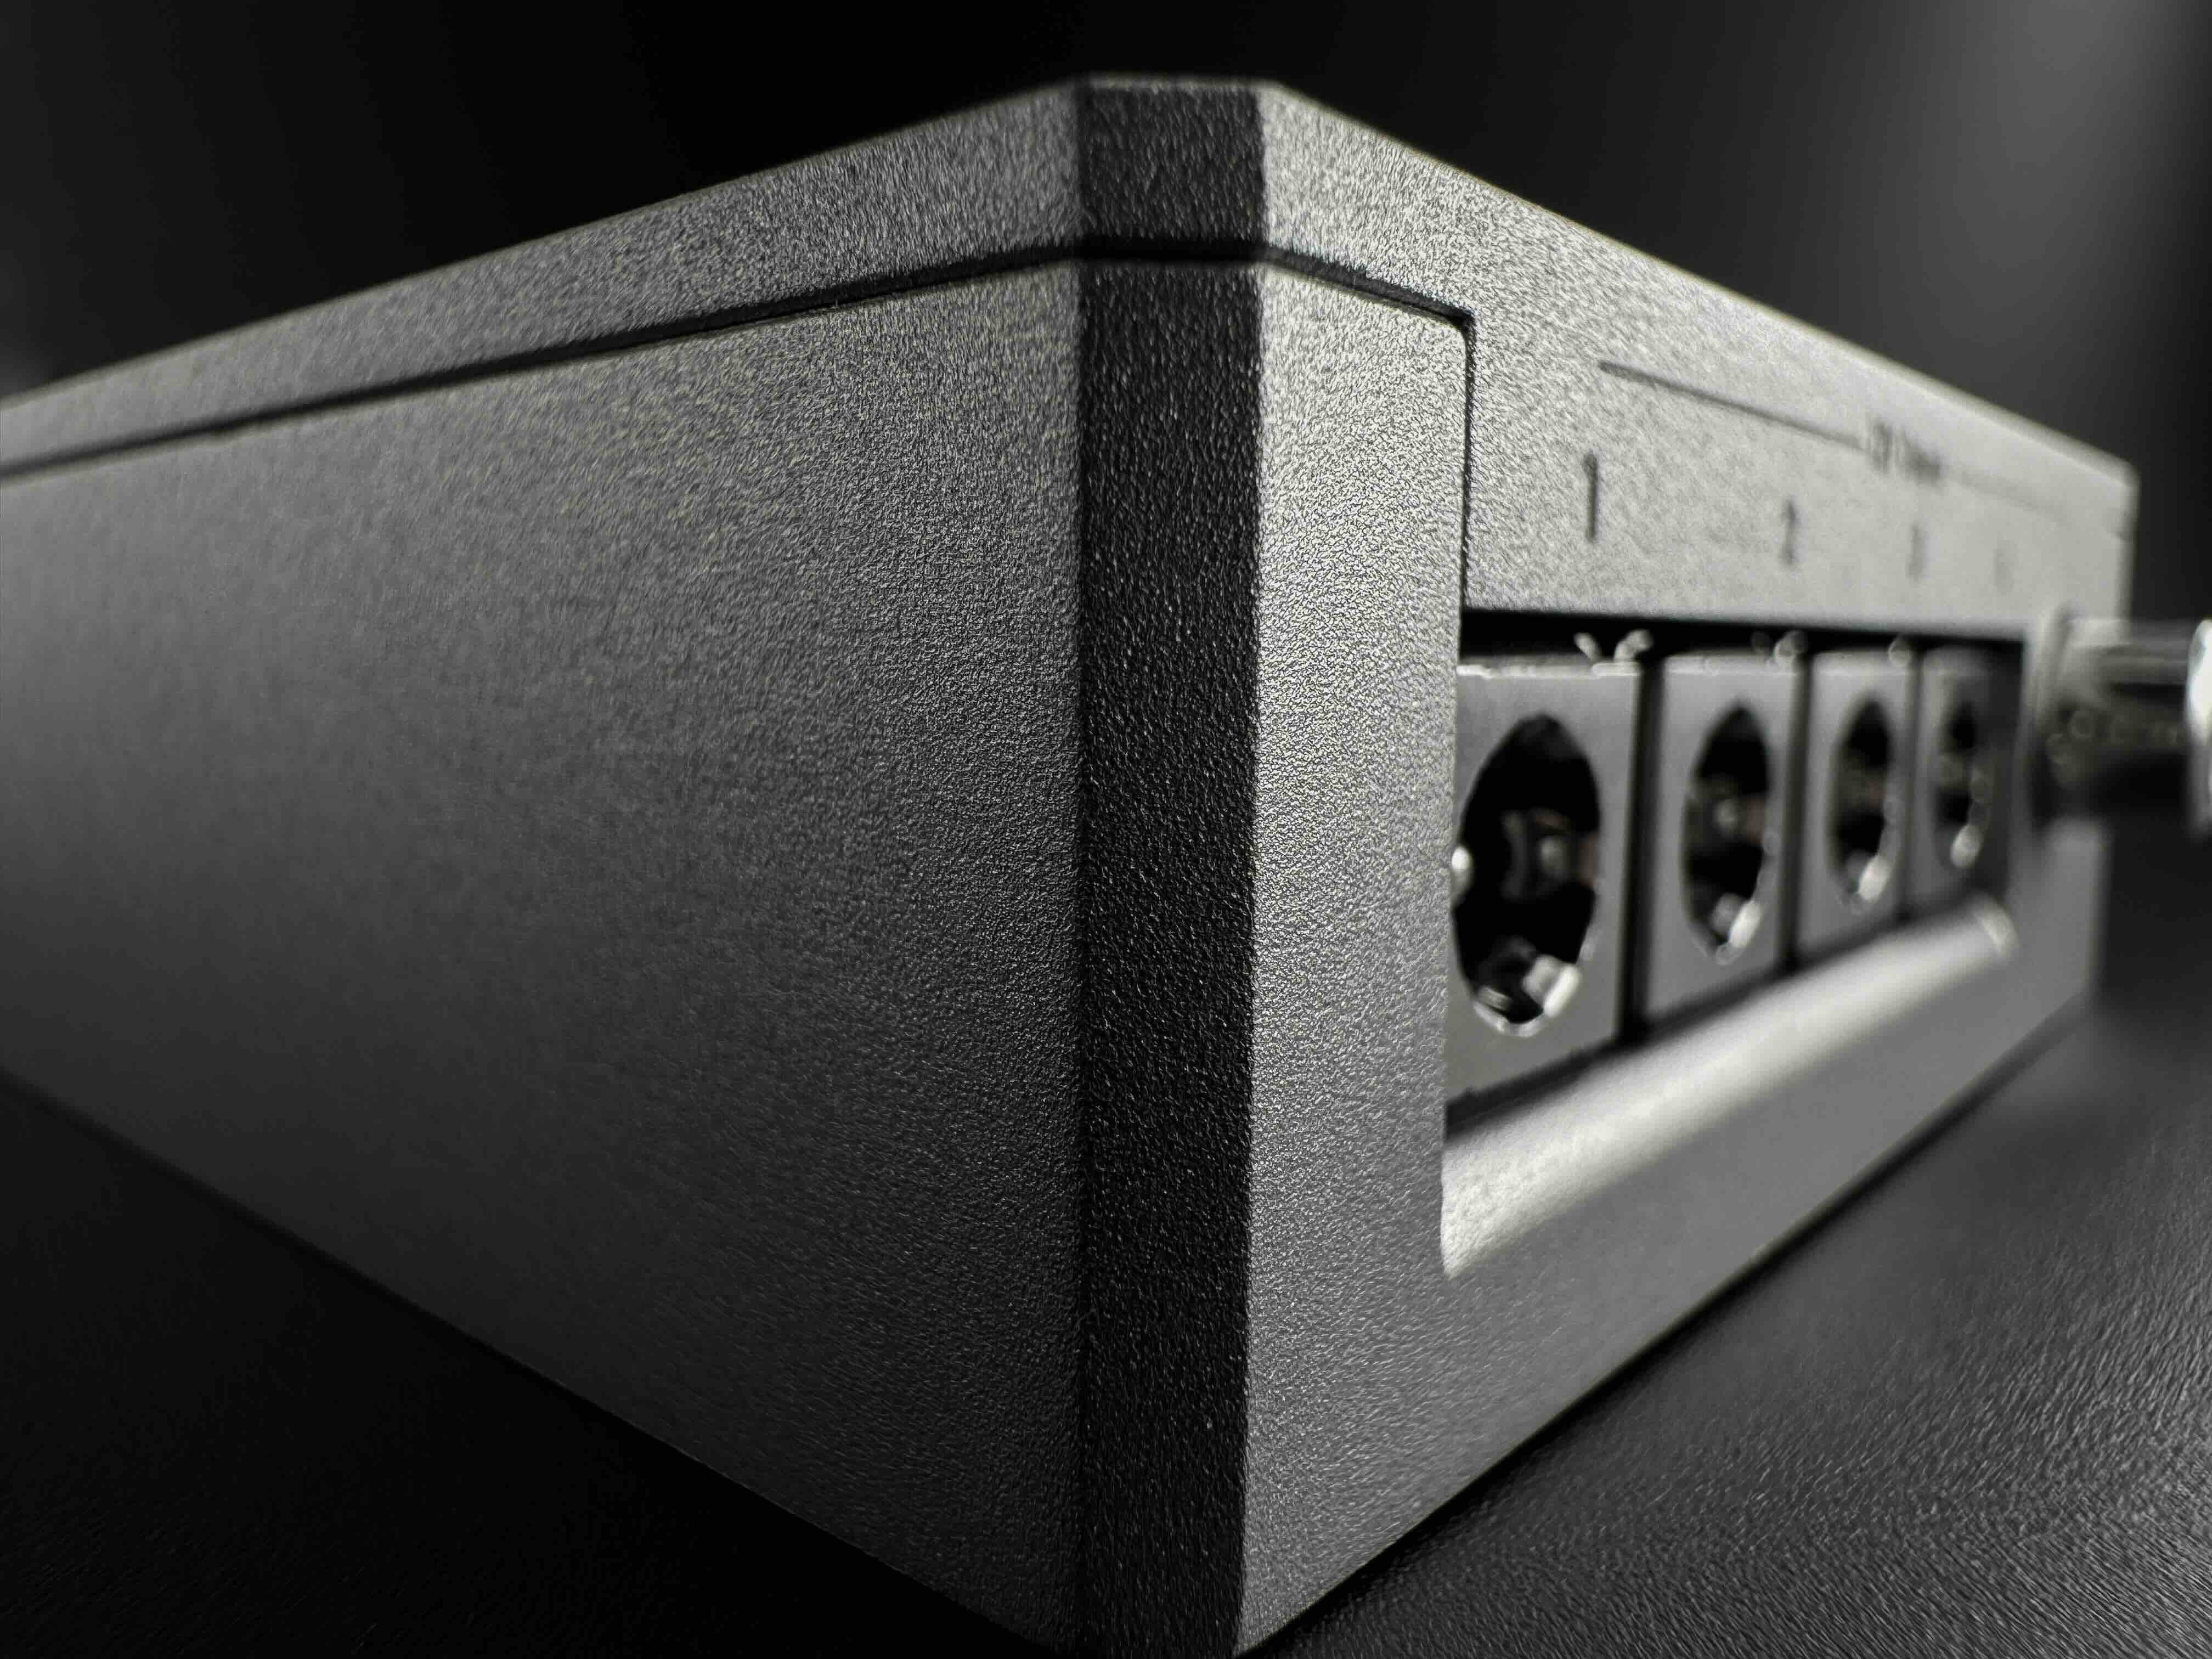
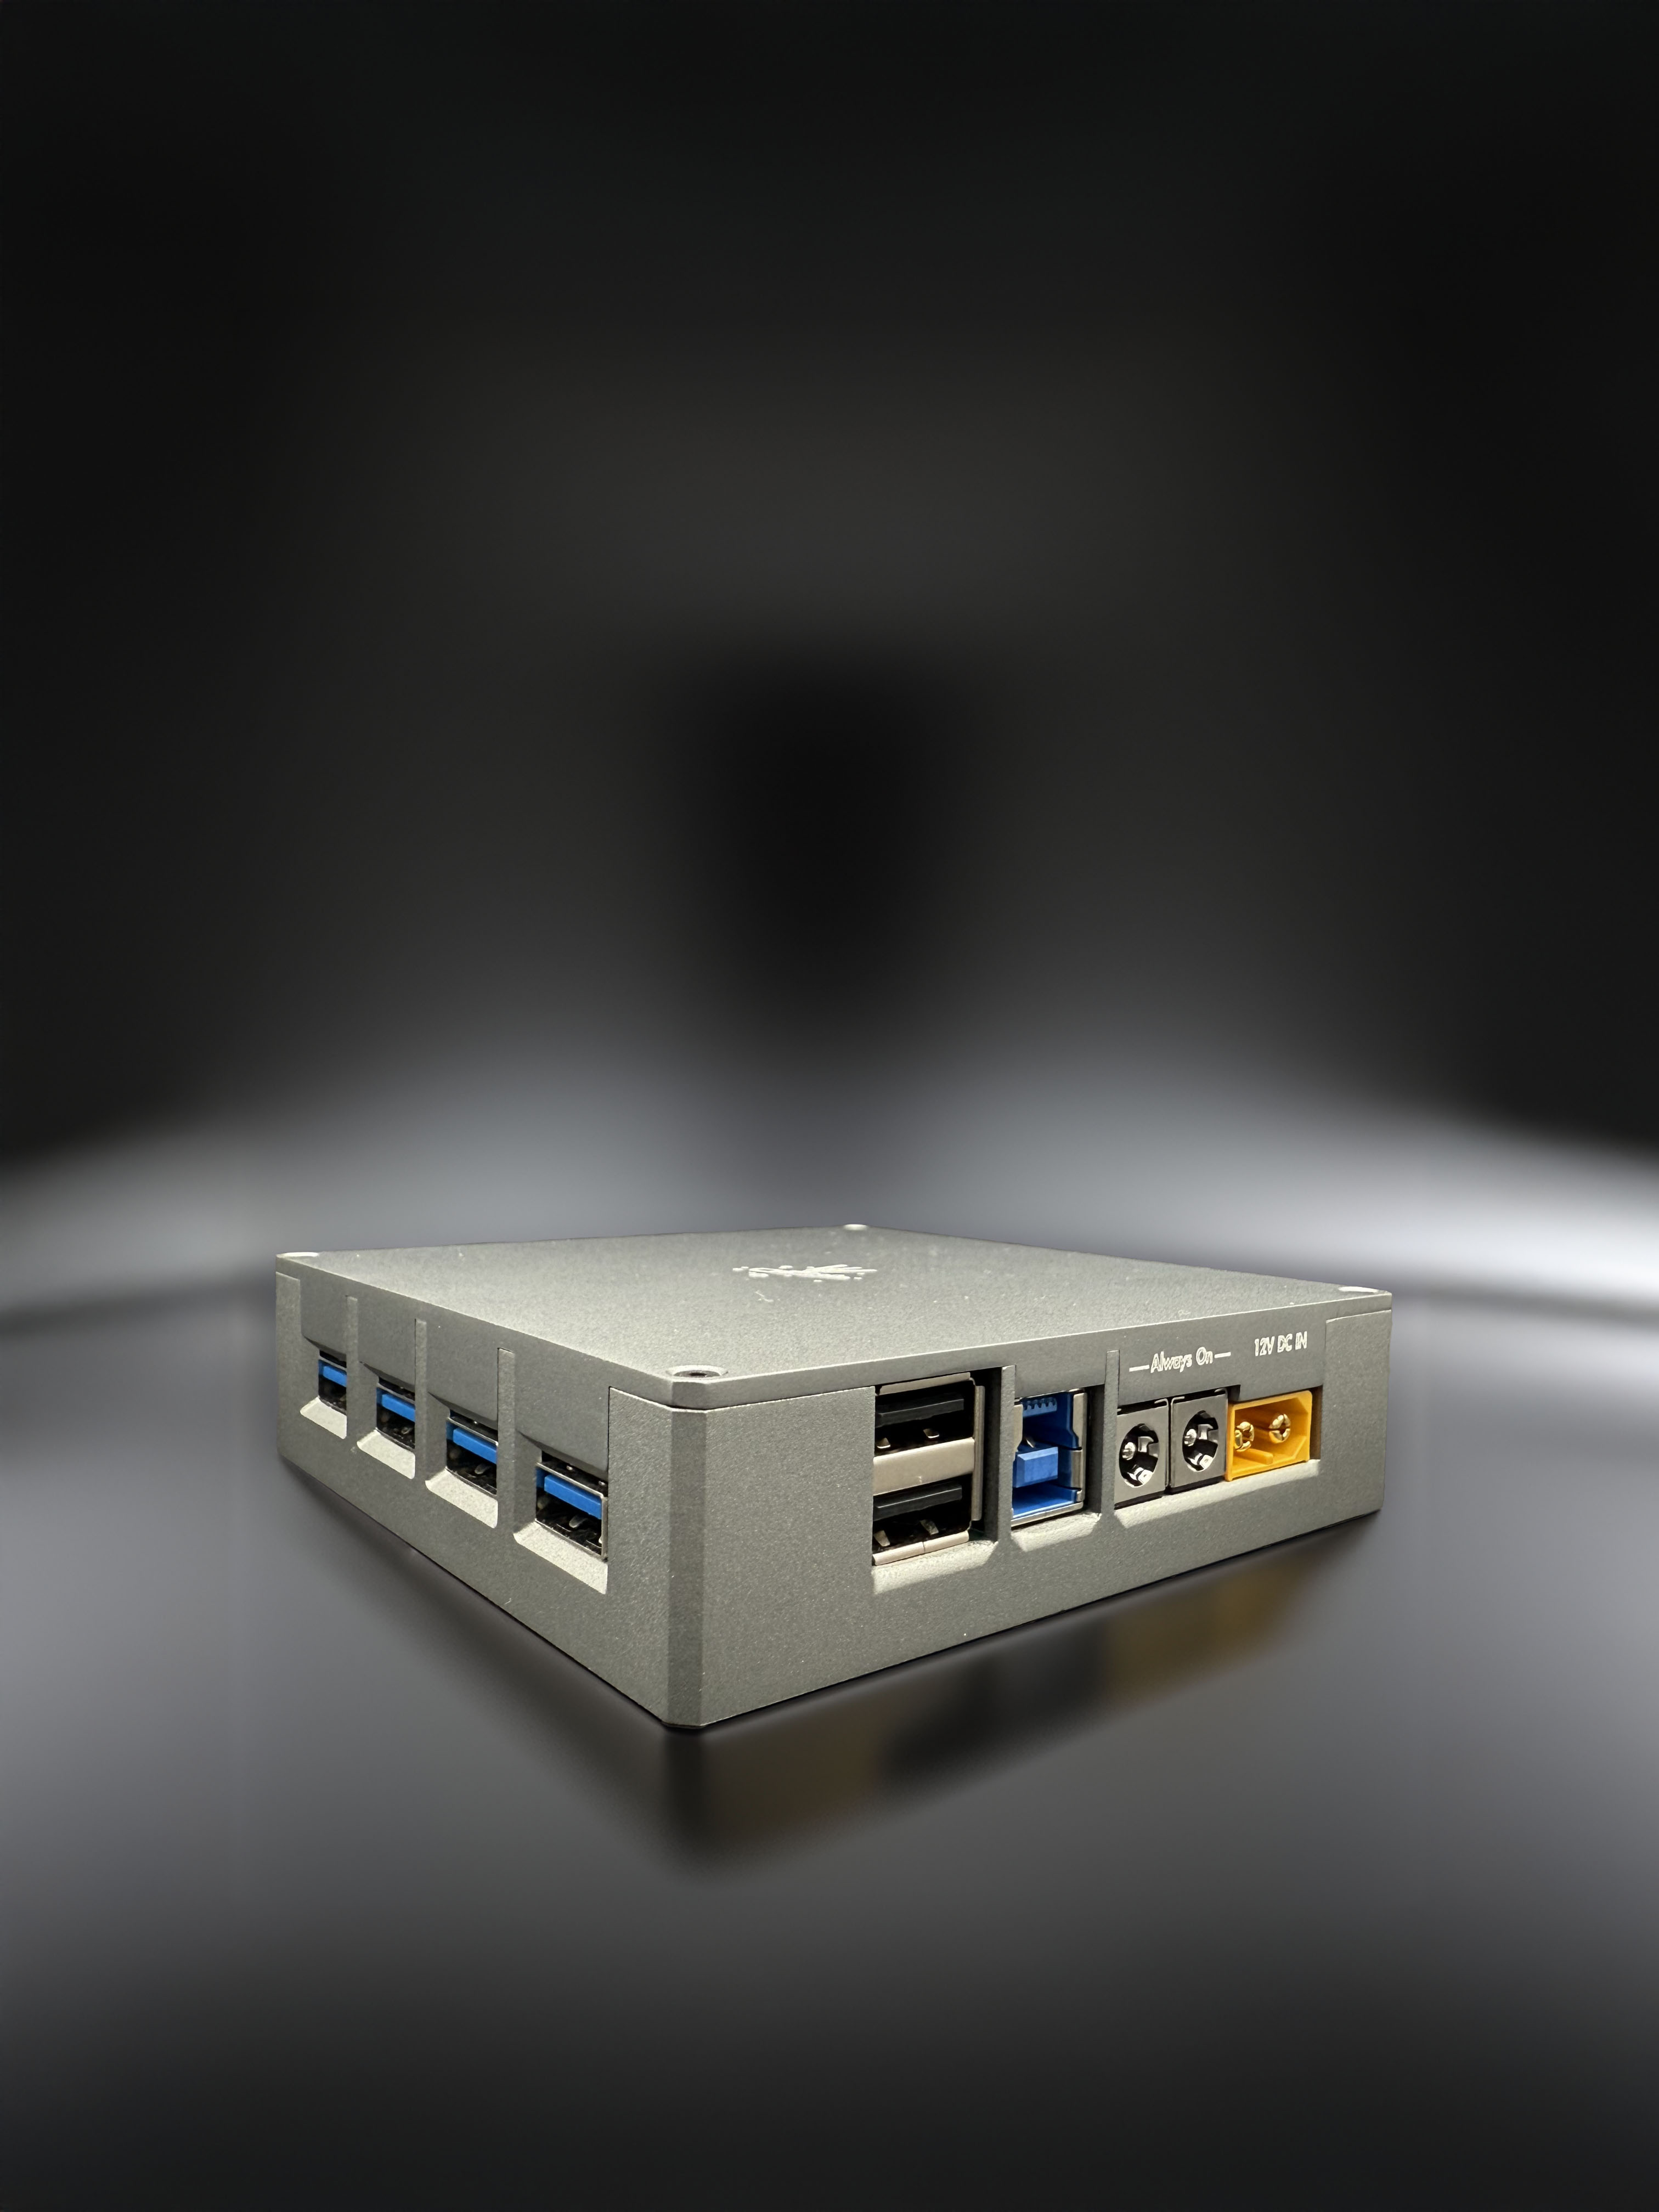
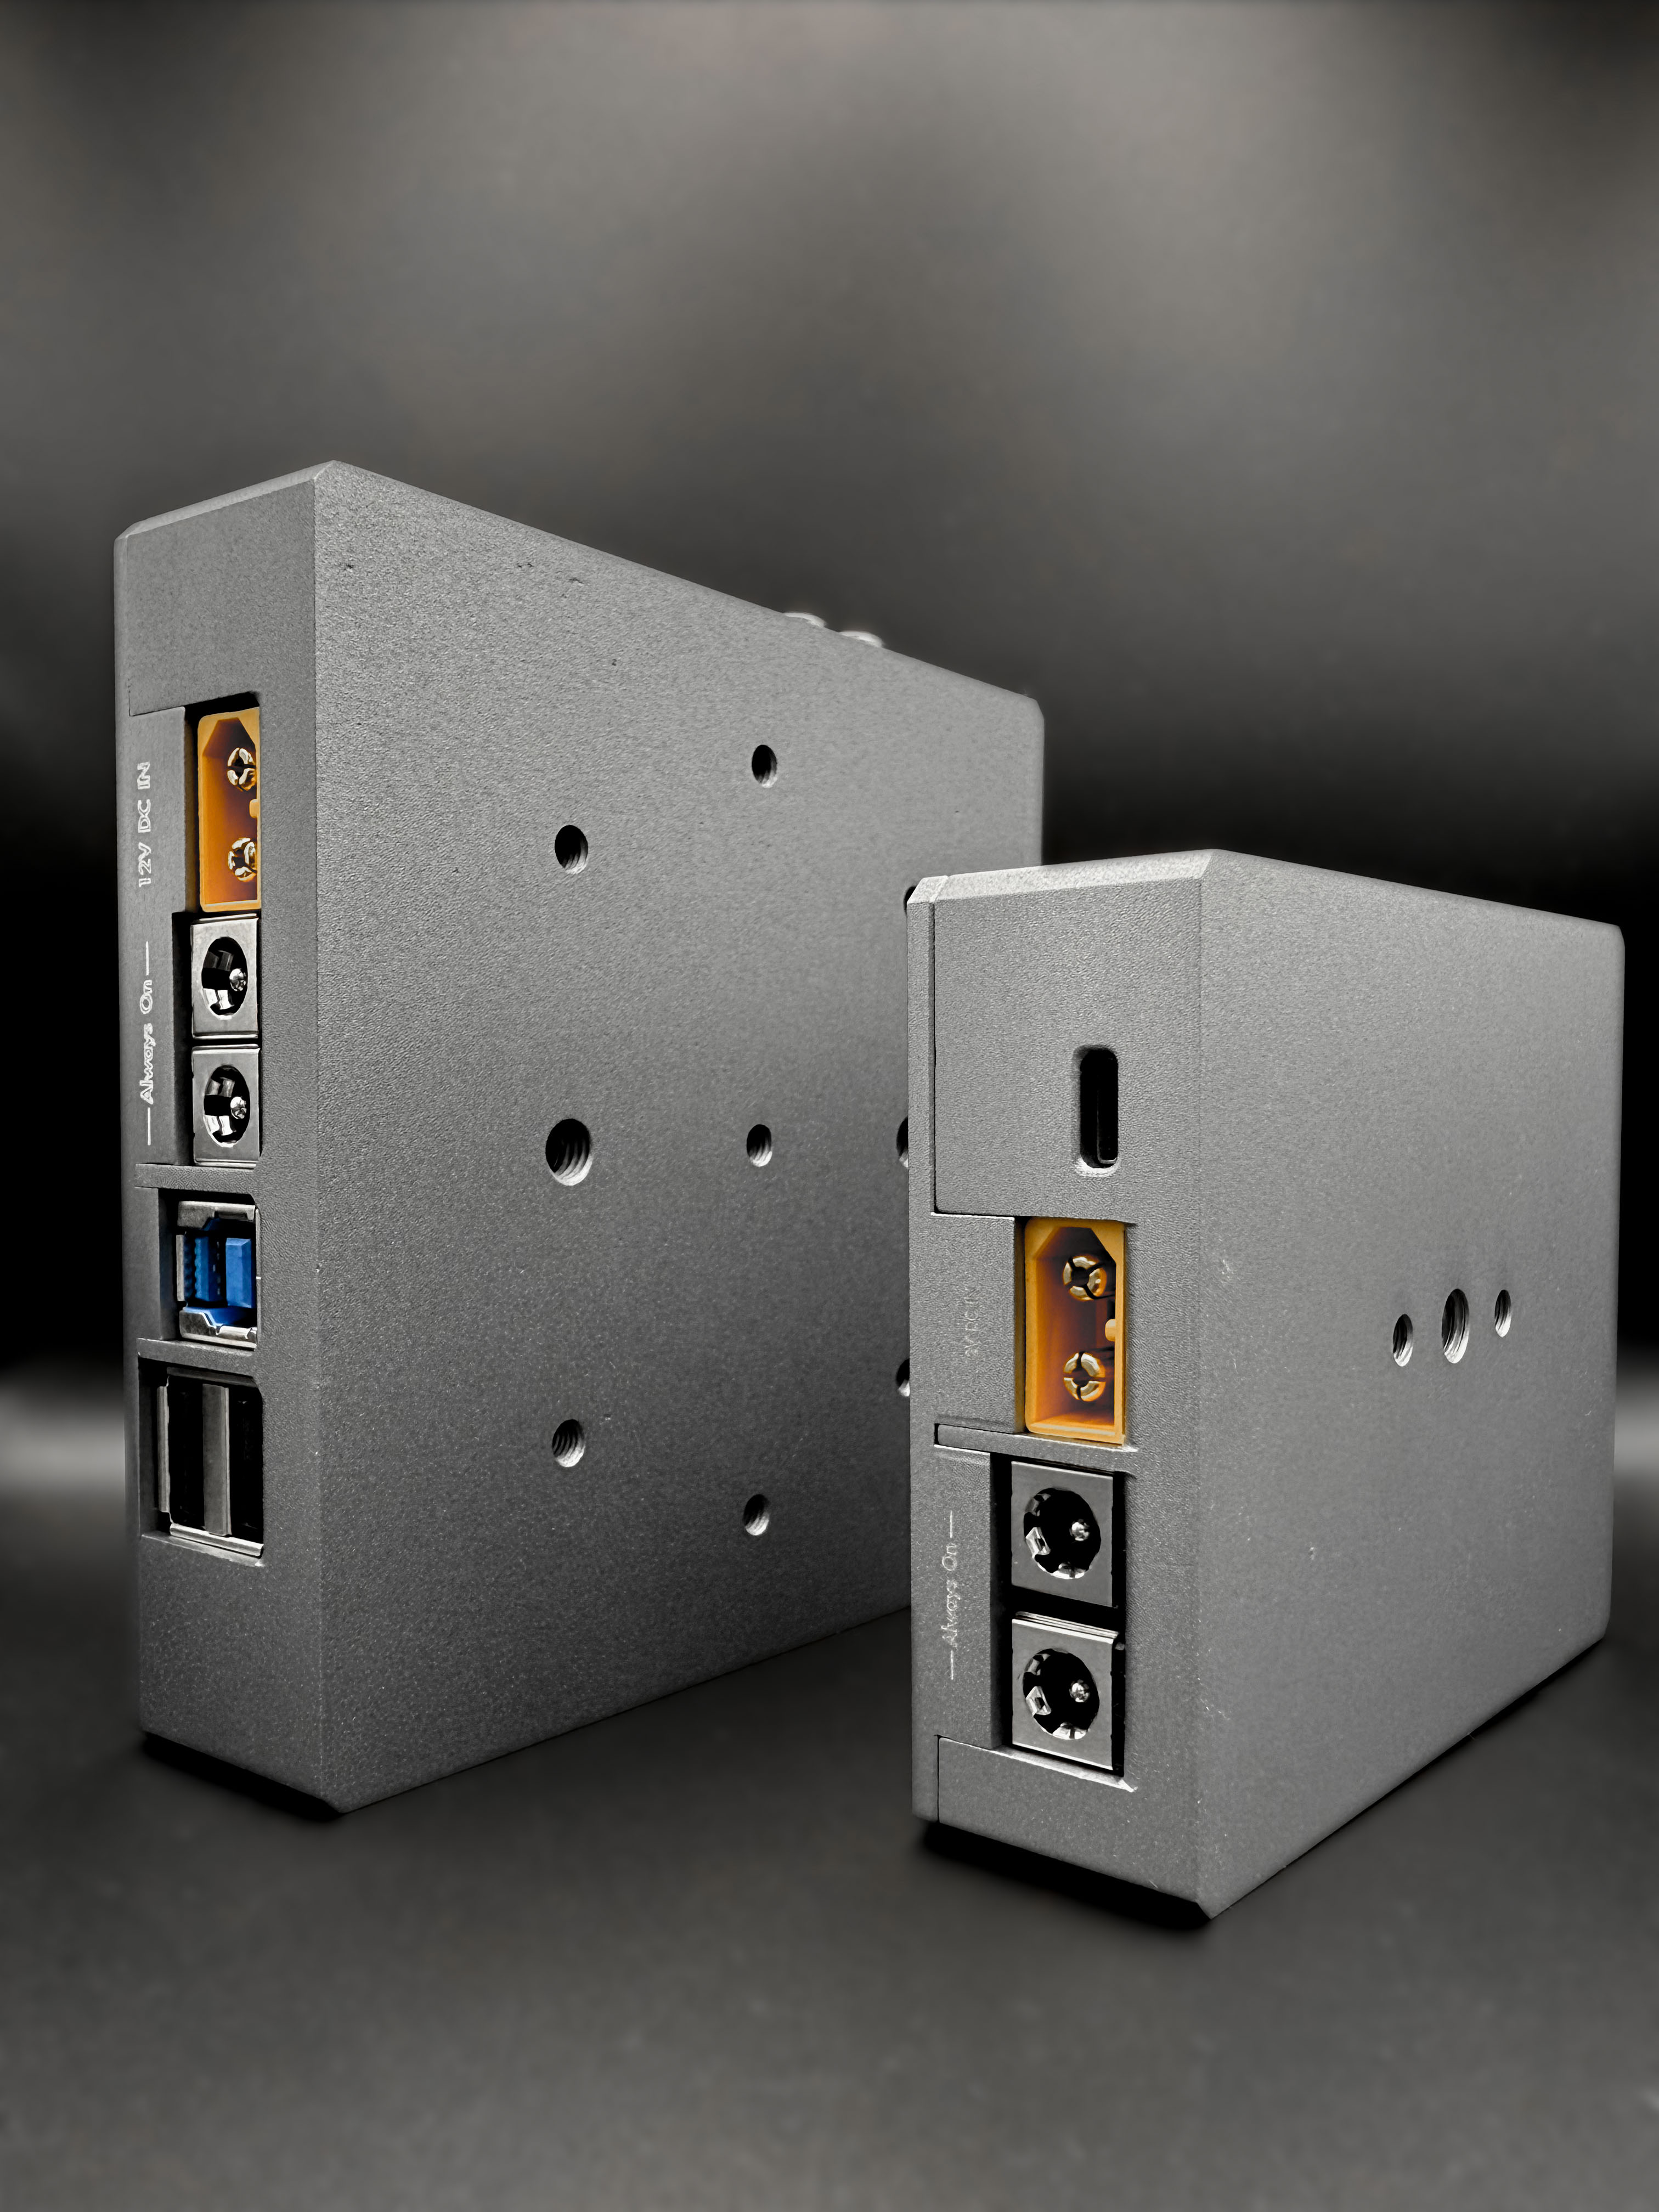
- High-grade aluminum = rugged, weatherproof, and built to last.
- Excellent heat dissipation.
- Allow threaded inserts for easy mounting.
- Supports laser markings for professional-looking labels.
- Available in different colors for a sleek finish.
Con:
- Expensive (but worth it if you want a pro-level build).
3D Printing (Budget Choice)
Pros:
- Much cheaper than CNC.
- Easy to reprint if damaged.
- Tough materials like PETG and ASA can handle the job.
Cons:
- Requires a 3D printer that can handle PETG/ASA.
- Not as durable — prone to warping in heat.
- Threads wear out fast (metal inserts help but require thicker design).
- No laser markings — stickers or prints won’t look as clean.
What I Did?
Easy: Printed first to test, then ordered CNC! - Best of both worlds.
Files & Ordering
Find all 3D (.STEP) files in my GitHub repository.
- Each version includes:
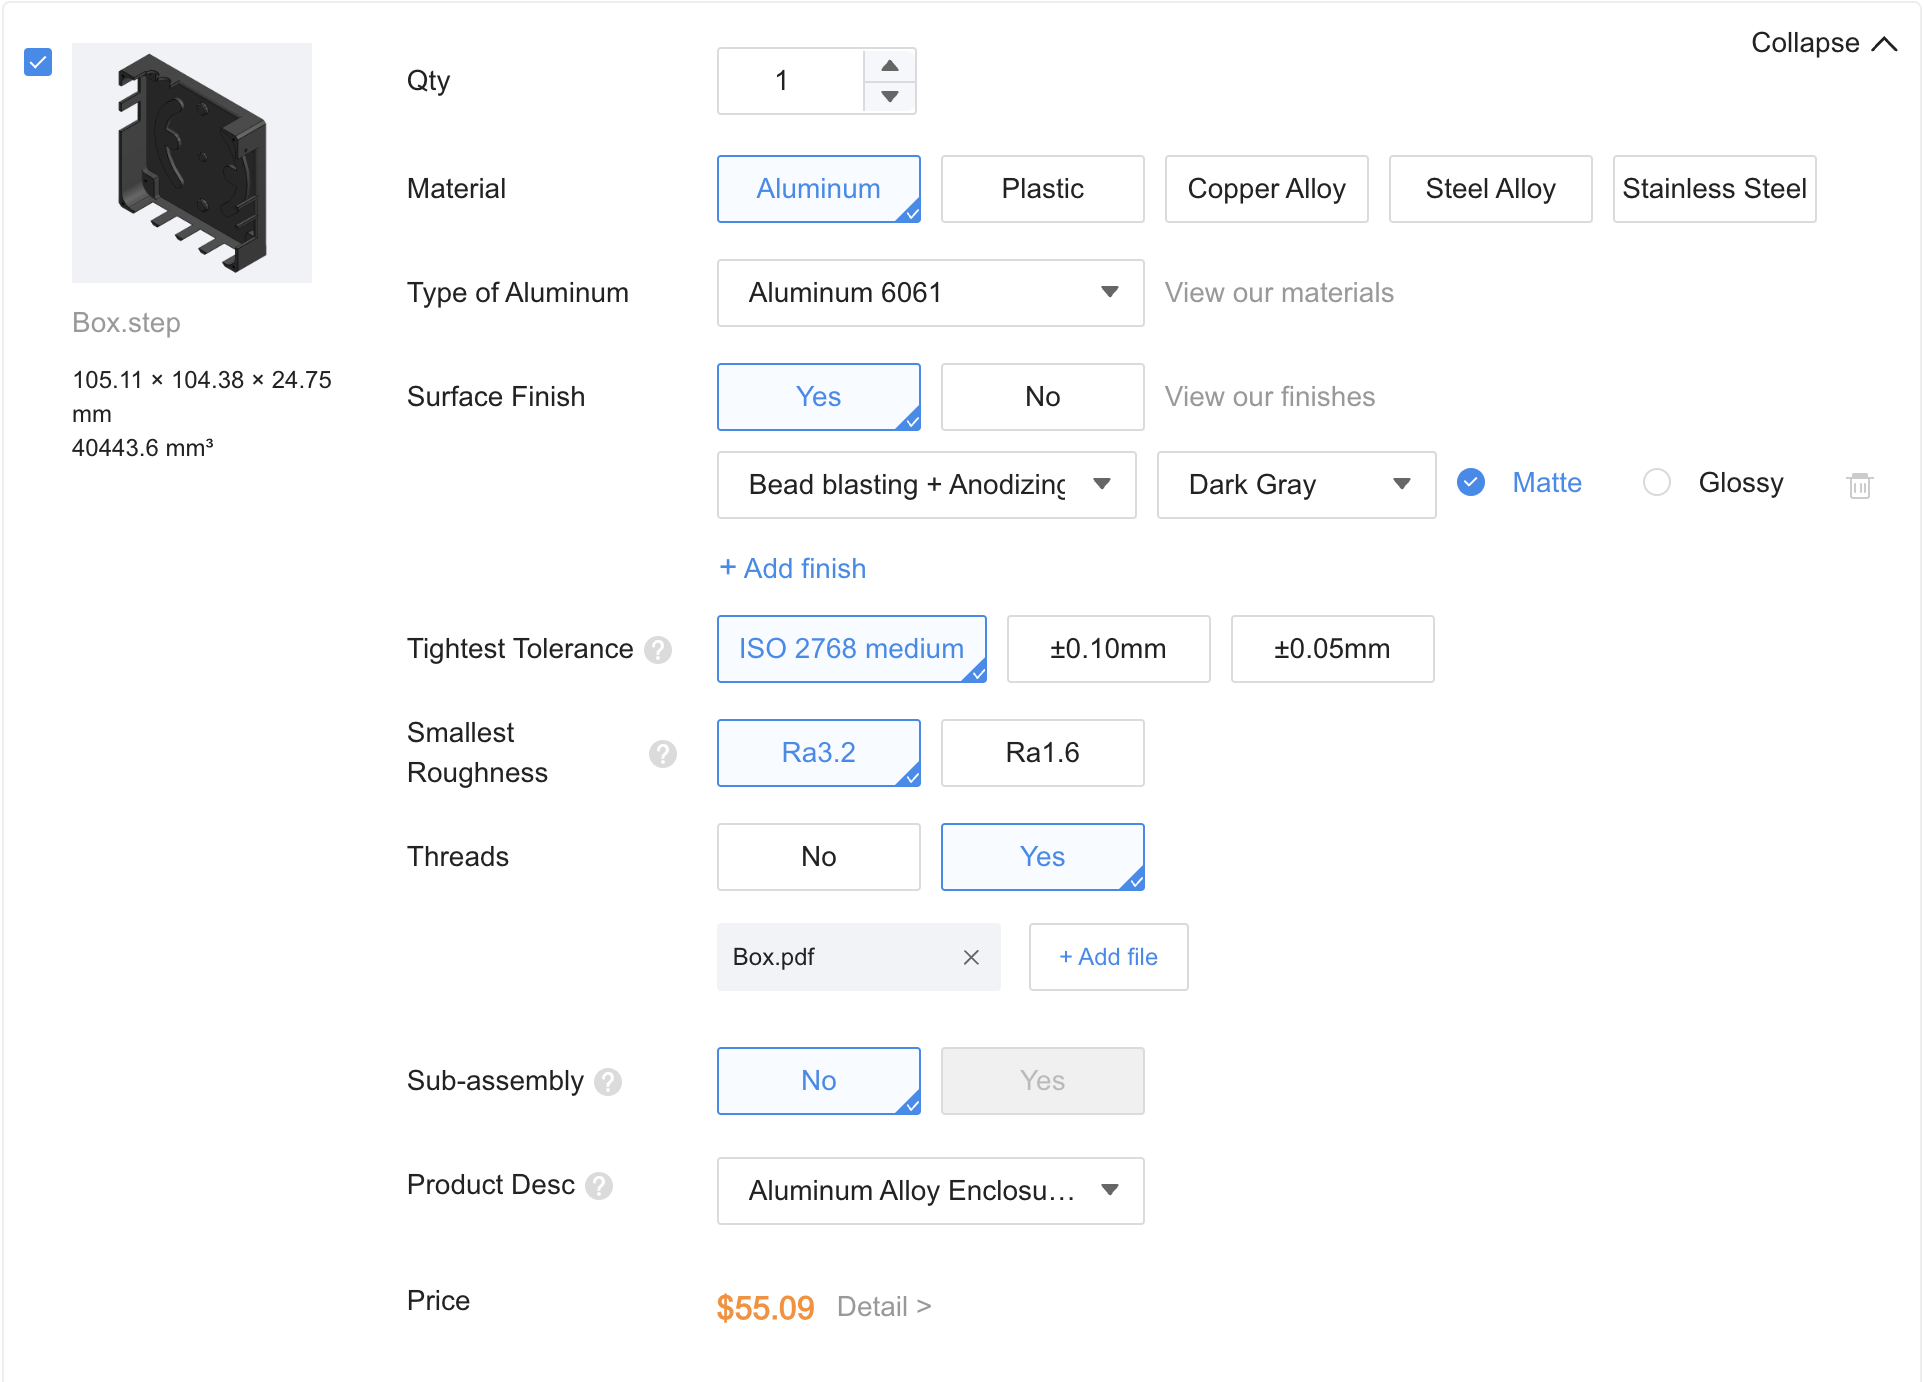
- Box folder → 3D file + PDF with thread specs (for CNC).
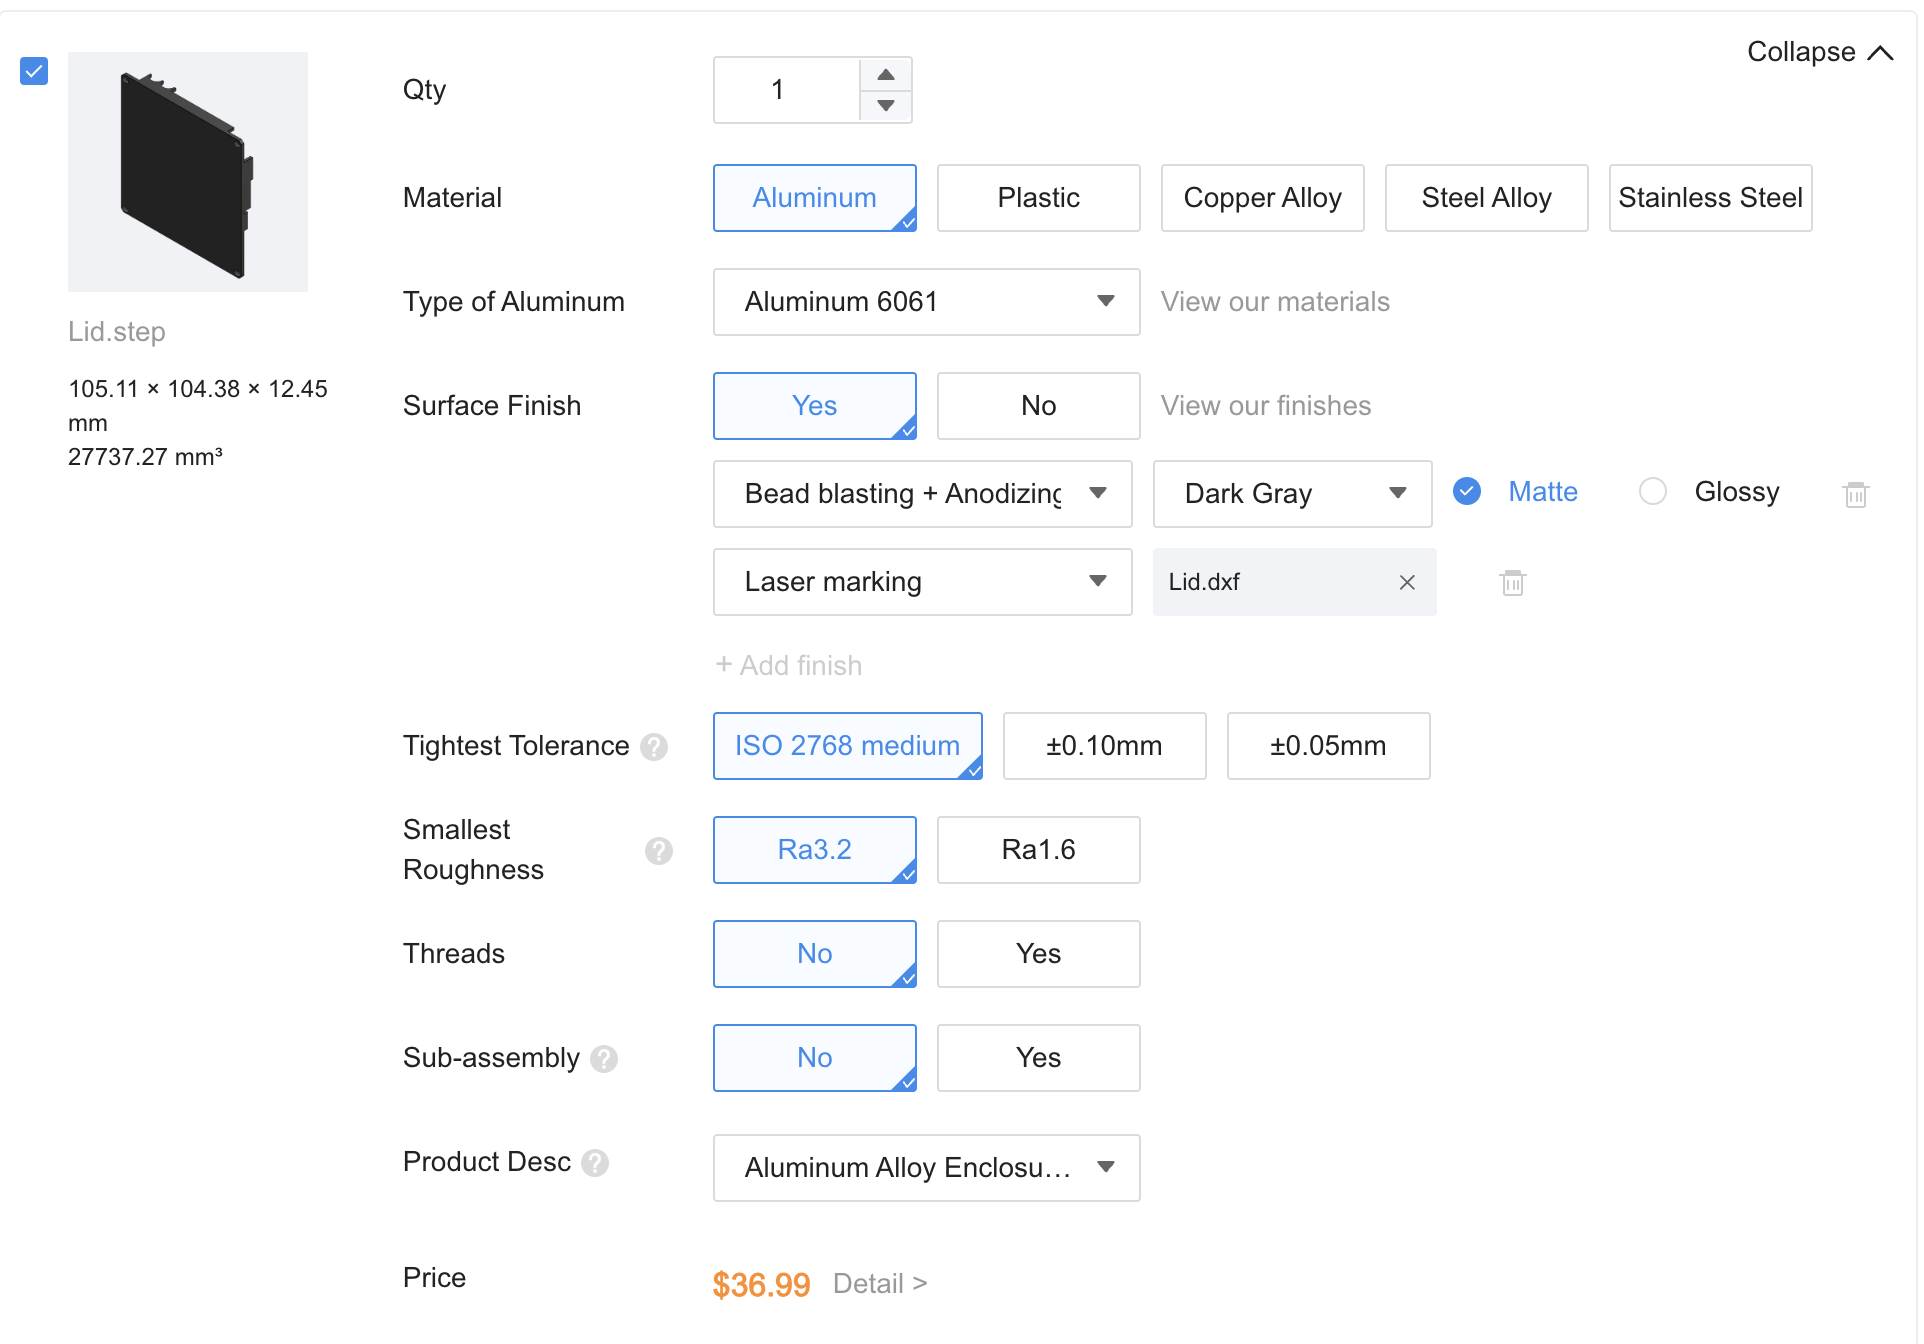
- Lid folder → 3D file + DXF file for laser marking.
Ordering CNC (Recommended)
- I used JLCPCB’s CNC service, but you can choose any manufacturer.
- Settings to choose:
- Material: Aluminum 6061
- Surface finish & color
- Threads: Upload the PDF file
- Laser markings: Upload the DXF file
- Choose the cheapest shipping option before submitting your order. This will request a quote (usually ready in 24 hours).
Get Ready for the Next Step!
Next up: Drivers & Software. Let’s bring this beast to life!
Want the PCB, microcontroller, components, CNC or 3D prints and pre-installed firmware delivered to you?
Send me an email or use the contact form
Want to buy me beer 🍻? Use this link
See you soon!
~The Bright Knight