Welcome back! In this post, we’ll put all the pieces together — literally. Let’s solder, flash, and get our environment-sensing mesh network up and running!
Soldering: The Gentle Art of Not Burning Down Your House
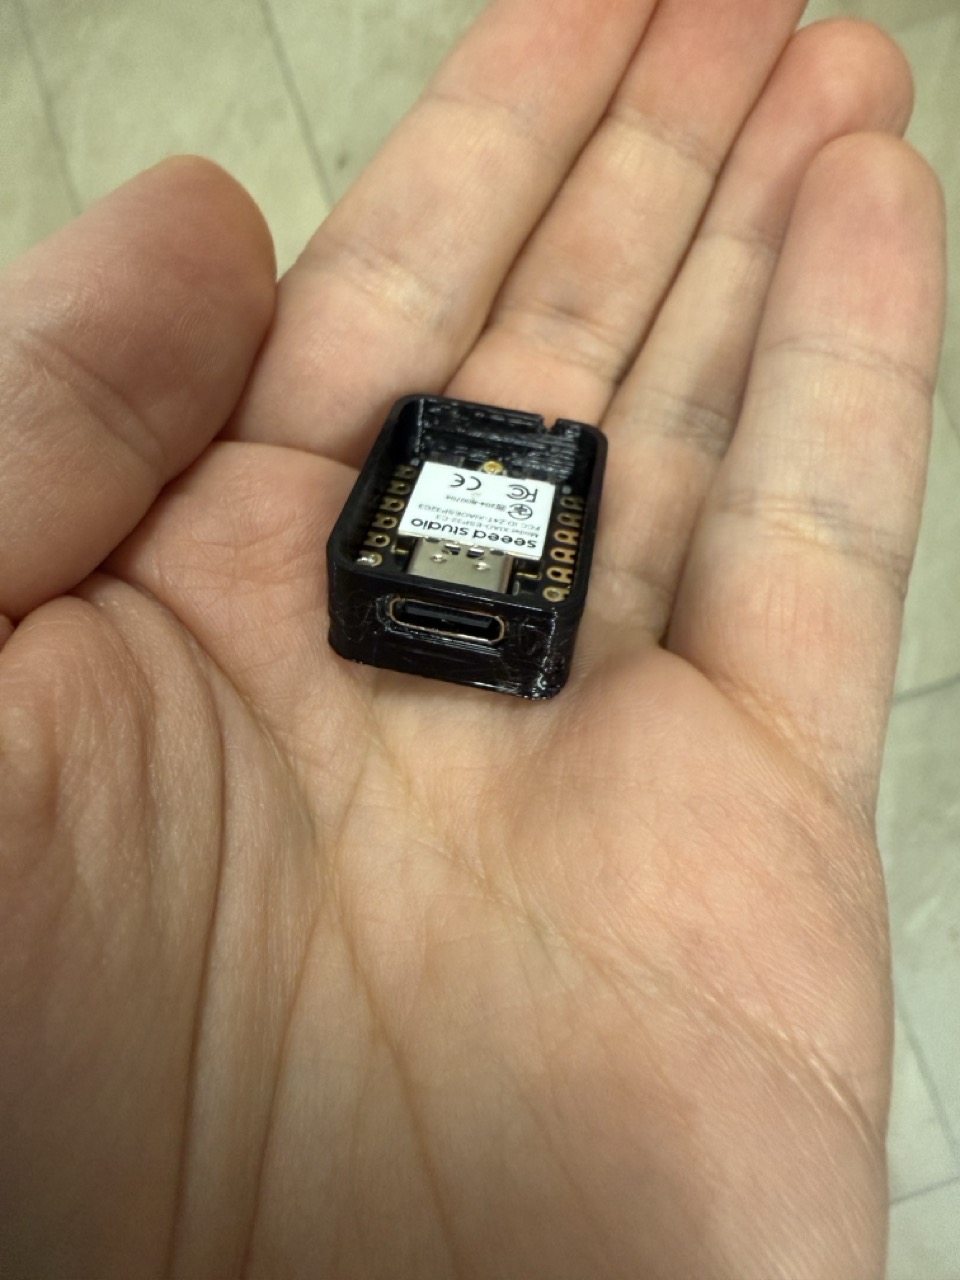
 The Hub is the chill one in the group — no soldering needed. Just pop the Seeed Xiao ESP32C3 into the enclosure (don’t forget the adorable little antenna paper thingy) and you’re done.
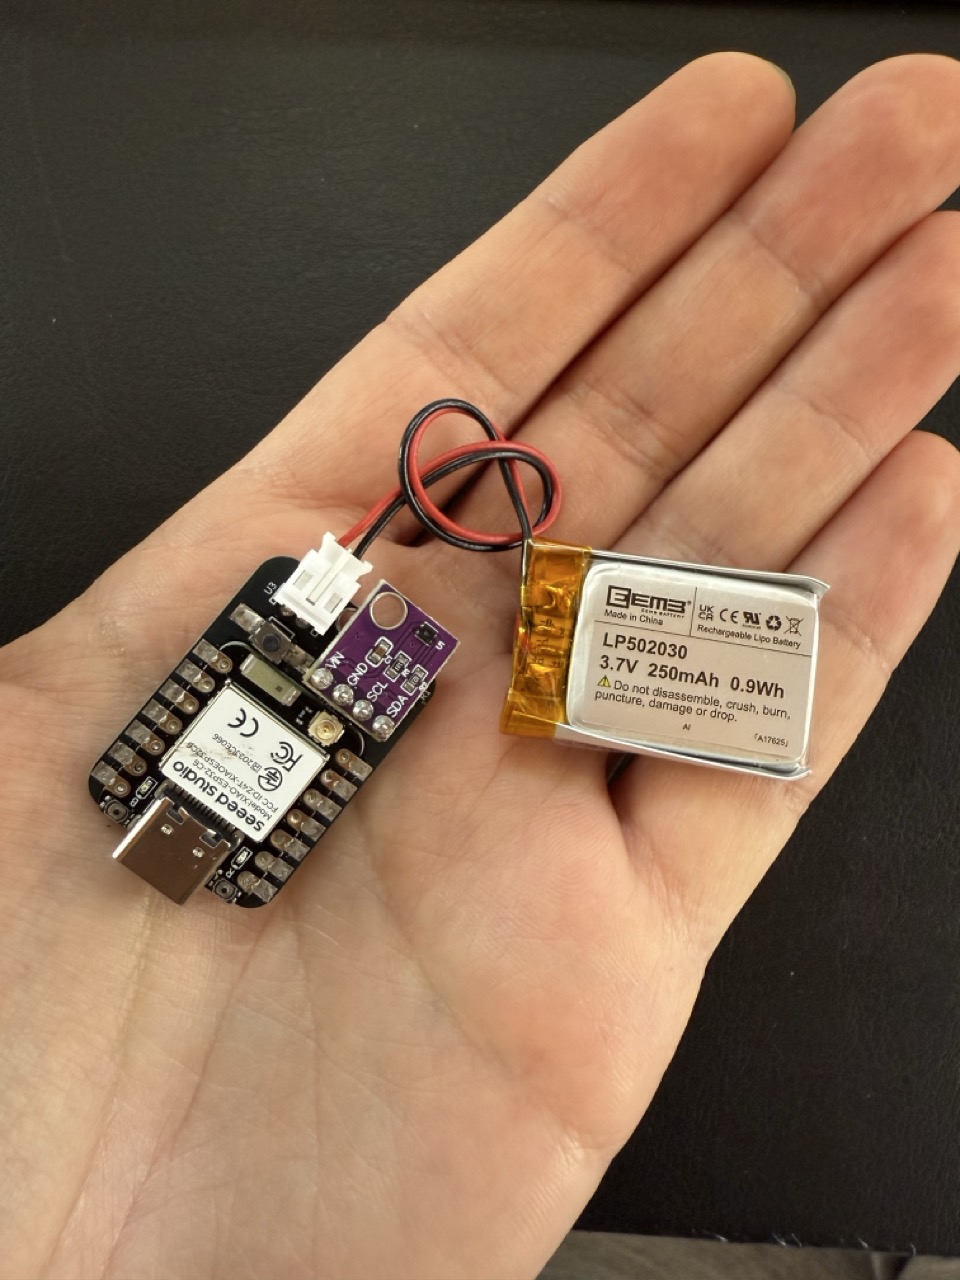
The Thermometers are where the fun begins. Once your PCBs arrive, it’s pretty straightforward — everything’s labeled on the board.
Now, about those pads on the bottom of the ESP32C6: yes, you need to solder those too, especially the BAT + / - pads. Easiest way? Solder paste and a hot plate.
 No hot plate? A low-heat soldering iron might work. No low heat? Use a regular iron and nerves of steel. Just… don’t burn yourself or your house.
Once soldered:
- Hook up the battery.
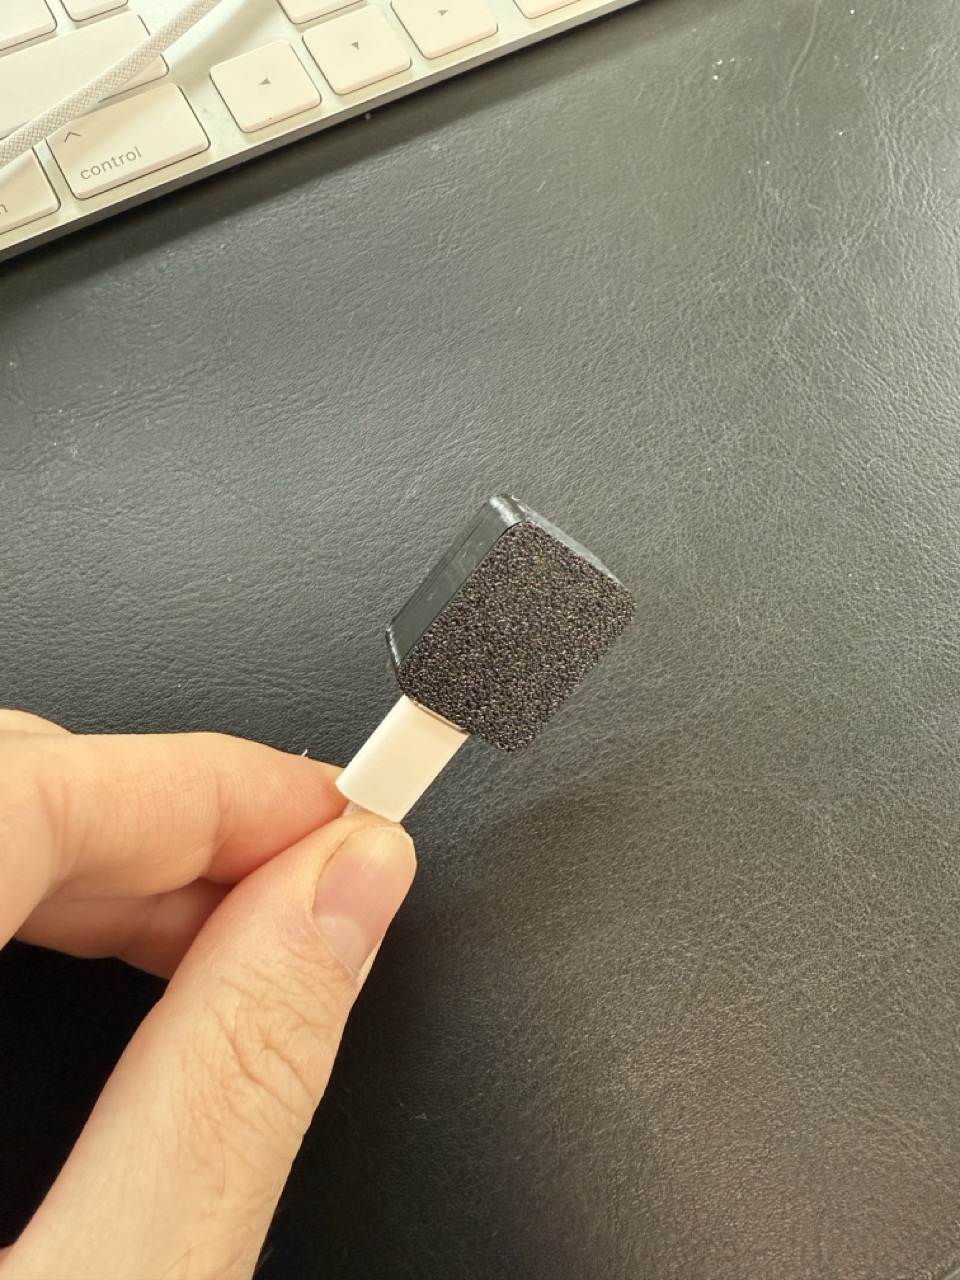
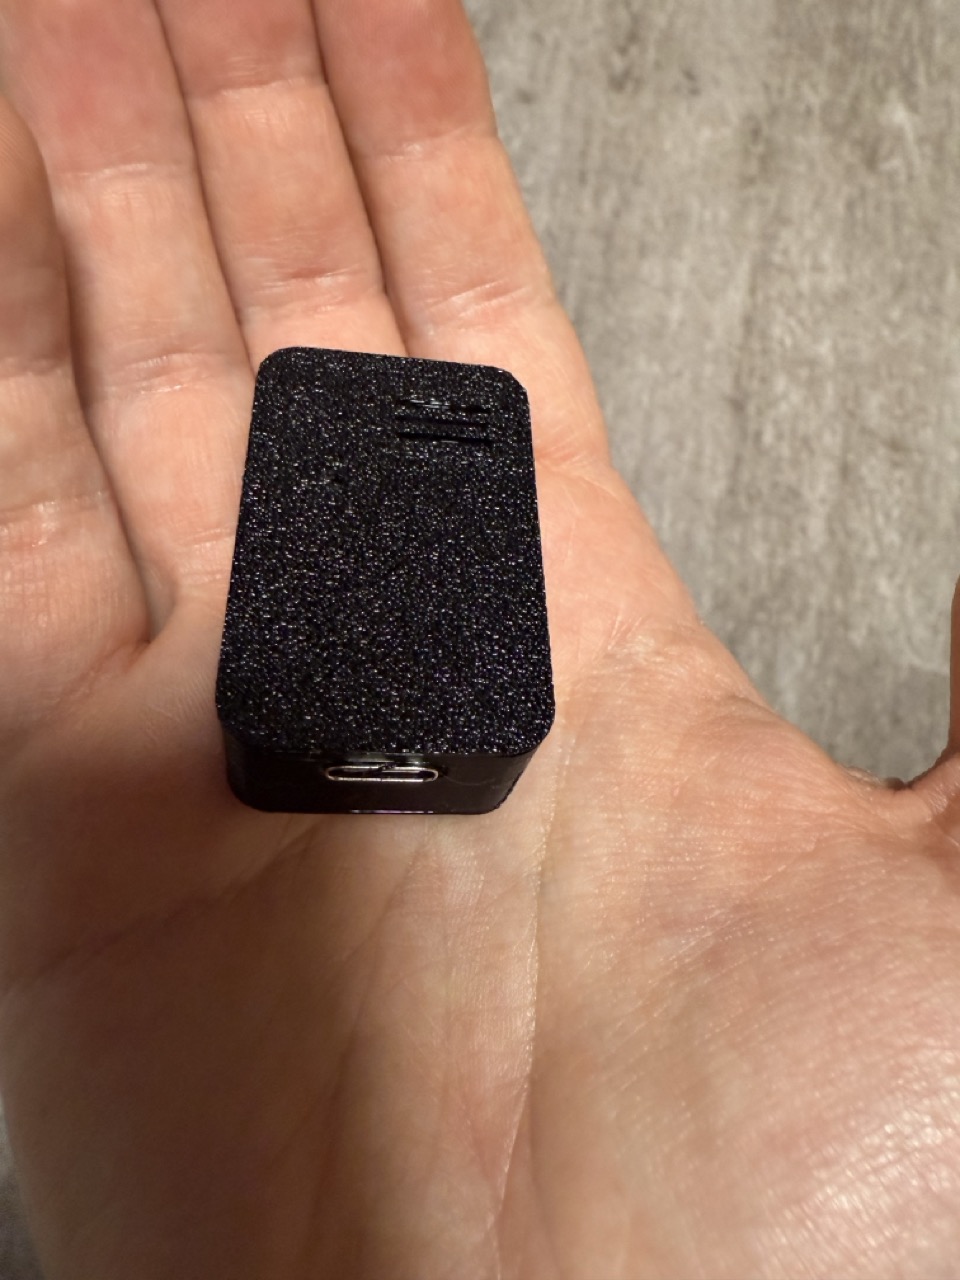
- Pop it into the enclosure.
- Skip the antenna here — the C6 has a built-in one, unless you are planning to place a Thermometer far from your router.
Flashing the Firmware:
Go to my GitHub repo and grab the .bin files from the Firmware folder. Make sure to pick the right firmware: Server for the hub, Client for the thermometers.
- Plug the device into your computer.
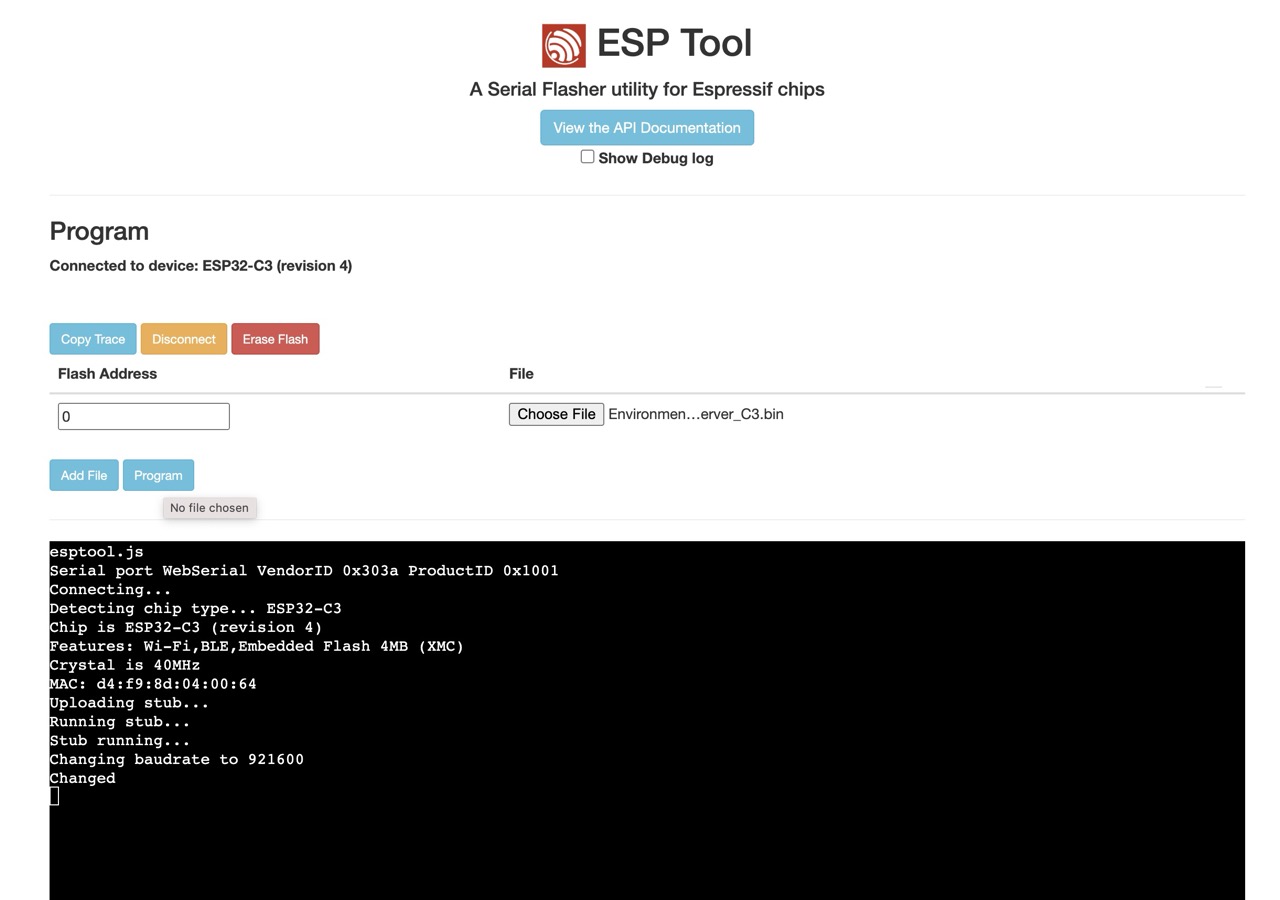
- Open this tool in your browser: Espressif Web Flasher
- Click the blue Connect button, select your device, and hit Connect again.
- If all goes well, some lovely chip details will appear in the black terminal.
- Click Choose File, select the appropriate
.bin. - Important: Set Flash Address to
0. - Click Program and wait for it to finish.
Once done:
- Click Disconnect.
- Under Console, click Start, connect again, then hit Reset.
If you see:
wm:StartAP with SSID: EnvironmenTor
wm:AP IP address: 192.168.4.1
wm:Starting Web Portal
You nailed it. Check your phone — a new WiFi network should pop up: EnvironmenTor-Server or EnvironmenTor-Client.
If not, head to the FAQ section bellow. I got you.
Connecting the System
Hub Setup
- Power it up via USB.
- It’ll create a temporary WiFi network called
EnvironmenTor-Server. - Connect to it with your phone/tablet/computer.
- Enter your home WiFi credentials in the portal.
- Boom. It’s now on your network and you can access the web app at:
http://environmentor.local
FAQ
- If you cannot access
http://environmentor.localafter going through the first steps try to to restart it (unplug and plug the USB and battery if on client). - If it is still not accessible try to restart you browser or use another browser or another device.
- Check in your phone that there is no WiFi network called “Environmentor-Server” - if yes, go through the initial setup steps again.
-
If it is still not accessible:
- Hook it up to your computer and open in your browser
https://espressif.github.io/esptool-js/# - Under “Console” click on “Start” , select the device on the pop-up window and hit “Connect”.
-
In the black window you will see a debug log (if not hit the “Reset” button above it).
-
If you see something like:
wm:AutoConnect: SUCCESS
wm:STA IP Address: 192.168.31.249
Connected to WiFi
App available at 192.168.31.249
mDNS responder started
HTTP server started
It means that you can access the app from your browser in the address
192.168.31.249 -
If you see something like:
wm:StartAP with SSID: EnvironmenTor
wm:AP IP address: 192.168.4.1
wm:Starting Web Portal
It means that it is not connected to your home network, and you need to go over the initial setup again.
- For Client only - if you see something like “Couldn’t find SHT4x or SHT3x or AHTx” it means that you didn’t solder the sensor to the PCB correctly.
- If you see anything else the formware install probably didn’t went well - try to go over the firmware installation again.
-
- Hook it up to your computer and open in your browser
Thermometer (Client) Setup
- Power it up (battery or USB).
- It’ll create a WiFi network called
EnvironmenTor-Client(if not, go the the FAQ section) - Connect and configure WiFi just like the Hub.
Now let’s pair it: The pairing button is the button we soldered to the PCB, you can reach it with a pin through a small hole in the enclosure lid.
- Hold the button for 5–7 seconds until the LED starts flashing, then release.
- Wait for the LED to turn on again for 2 seconds — success!
- If it blinks 3 times instead, pairing failed.
While in pairing mode, you can:
- Rename the thermometer
- Set the sleep interval
- Enable external antenna
- Calibrate humidity, and more
To exit pairing mode:
- Hold the button for 5–7 seconds again, or
- Wait 2 minutes — it’ll exit automatically
To factory reset:
- Hold the button for 10+ seconds until the LED flashes like it just saw a ghost (around 30 rapid blinks), then release.
Using the System: Welcome to Your Mesh Empire
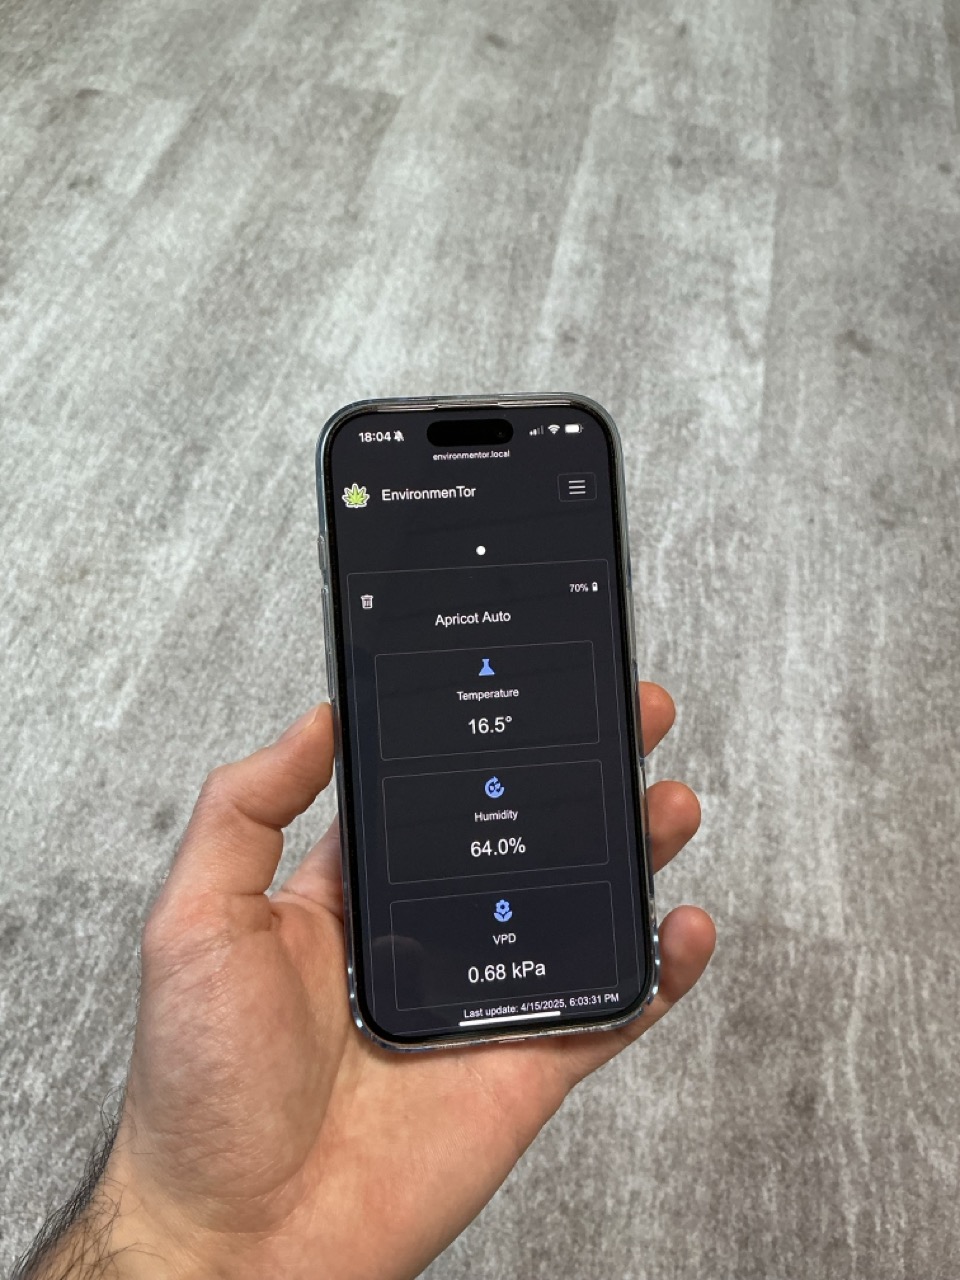
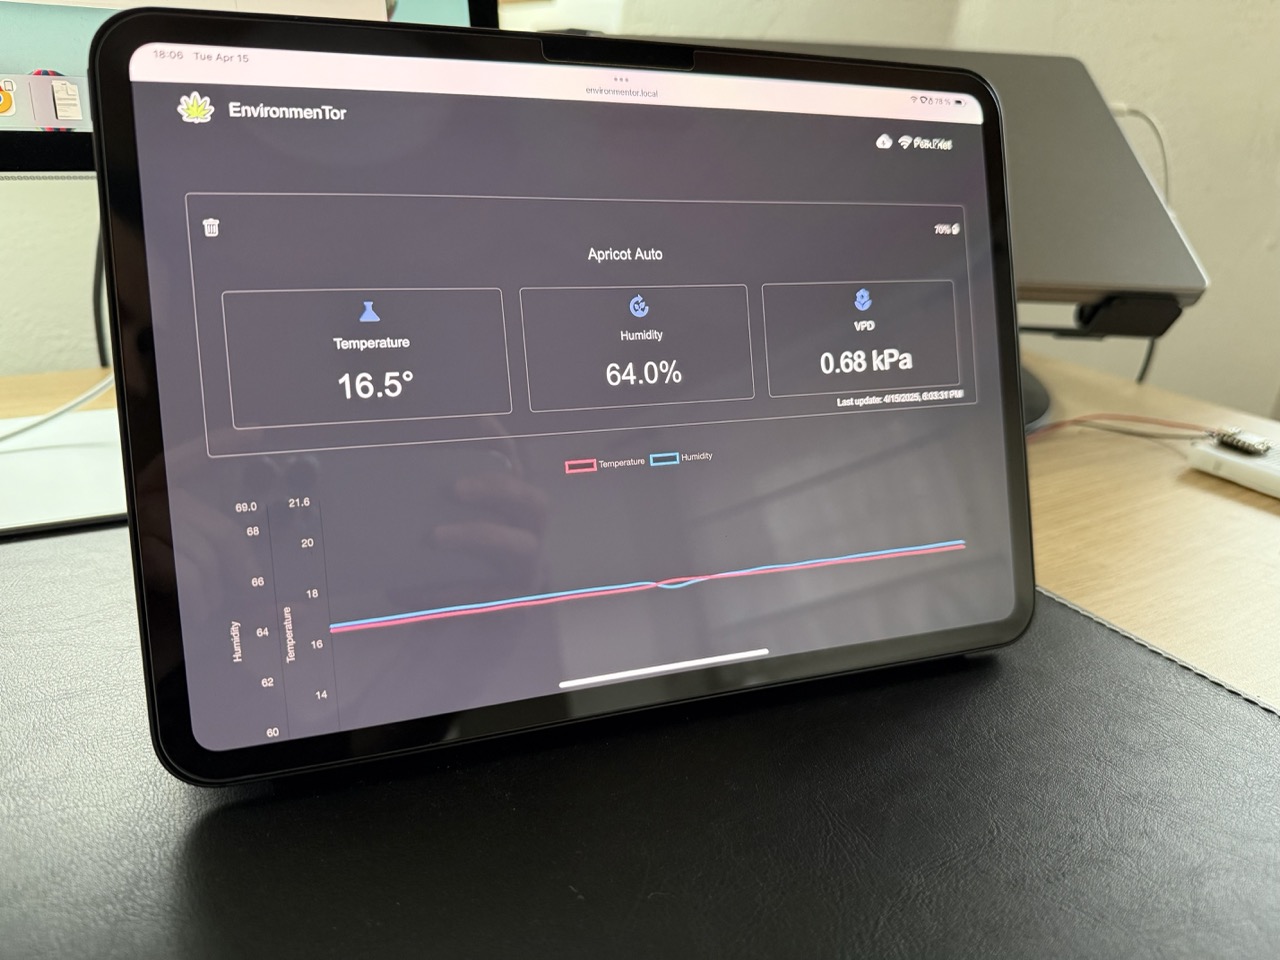
Once devices are added, you can view them all at: http://environmentor.local
On larger screens, you’ll see all devices in a row. On smaller screens, swipe left/right to switch views.
- Top right of each device card: Battery percentage or a dot (charging).
- Bottom of each card: Temperature and humidity history graph (up to 100 data points).
You can add new devices anytime by activating pairing mode. Already-paired devices will be recognized automatically.
While in Pairing Mode
- Measurements are taken every 2 seconds.
- A green icon will appear in the device card on the web app
- Rename the device: Click the pencil/edit icon, type the new name, click save.
- Change refresh interval: Default is 3 minutes. Shorter = faster updates, but significantly shorter battery life. Longer = more chill, and significantly more life.
- Enable external antenna: Useful if you’re having range issues.
- Humidity calibration: Add a constant offset if needed.
-
Firmware updates:
- Thermometers: Go to settings → click Update Firmware, choose your new
.bin, and hit update. - Hub: On big screens, use the top-right cloud/arrow icon. On smaller screens, find it in the hamburger menu.
- Thermometers: Go to settings → click Update Firmware, choose your new
- Remove a device: Even when not in pairing mode, click the trash icon and confirm.
Quick Actions
- Single measurement on demand: One short press on the pairing button.
- Soft reset: Use the tiny button labeled “R” next to the USB port or unplug it.
- Hard (factory) reset: Hold the pairing button for 10+ seconds until the LED flashes like crazy, then release.
More FAQ
- How many Thermometers can I connect to one hub? - at the moment as many as you need.
- Can I connect the Thermometer to HomeAssistant/ESPHome? - Yes, but you will loose all other functionalities and will be bound to the HomeAssistant system, See here.
- Can I connect the Thermometer to Apple HomeKit/Alexa/Google? - Yes, the ESP32C6 supports Matter and Thread, but you will loose all other functionalities and will be bound to the connected system. You will have to install a specific firmware (there are a few examples on the Web).
That’s a Wrap (is it…?)
You’re officially running your own distributed climate monitoring network. You soldered, flashed, and configured.
See you on my next project, or the next post - surprise!
Send me an email or use the contact form
Want to buy me beer 🍻? Use this link
~ TheBrightKnight