I’m glad you’re still here — either you’re genuinely interested or stuck in a weird internet rabbit hole. Either way, let’s jump in!
The Shopping List
You’ll need one “Hub” and as many “Clients” as your data-hungry heart desires.
Note: Nothing here is affiliated. I’ve added links for convenience, but feel free to shop wherever — just make sure you’re grabbing the correct components so they match the PCB.
For the Hub
This one’s easy — no need to worry about power-saving magic since the hub is always plugged in via USB-C.
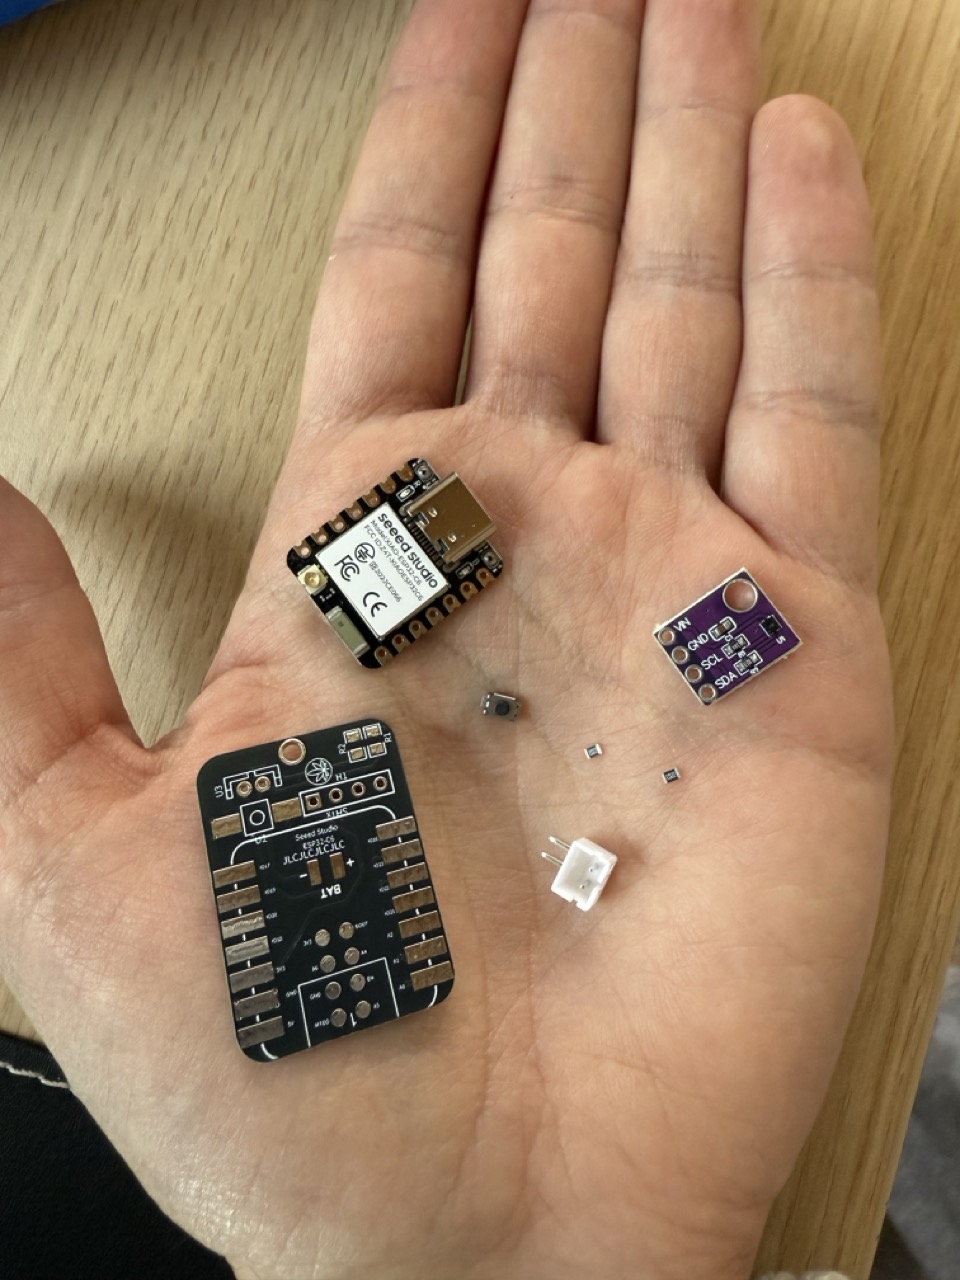
- Seeed Xiao ESP32C3 (C6 version also works, but it’s overkill here), get it at AliExpress or Seeed Studio
Make sure it’s the one with the little paper antenna thingy!
For Each Client
Multiply everything below by the number of Thermometers (clients) you want to build:
- Seeed Xiao ESP32C6, get it at AliExpress or Seeed Studio
- SHT3X or SHT4X sensor - I recommend the SHT31-D , get it at AliExpress
- Two 220k 0805 SMD Resistors , get it at AliExpress
- SMD Switch , get it at AliExpress
- Right-angle PH2.0MM 2P connector , get it at AliExpress
- 3.7V 250mAh battery , get it at AliExpress
- PCB – More on that below
Tools You’ll Need
- A brain (any version should do fine)
- Soldering tools
- A 3D printer (for the enclosure)
- One M2 screw (optional, but nice to have)
- A computer to flash the code
Getting the PCB
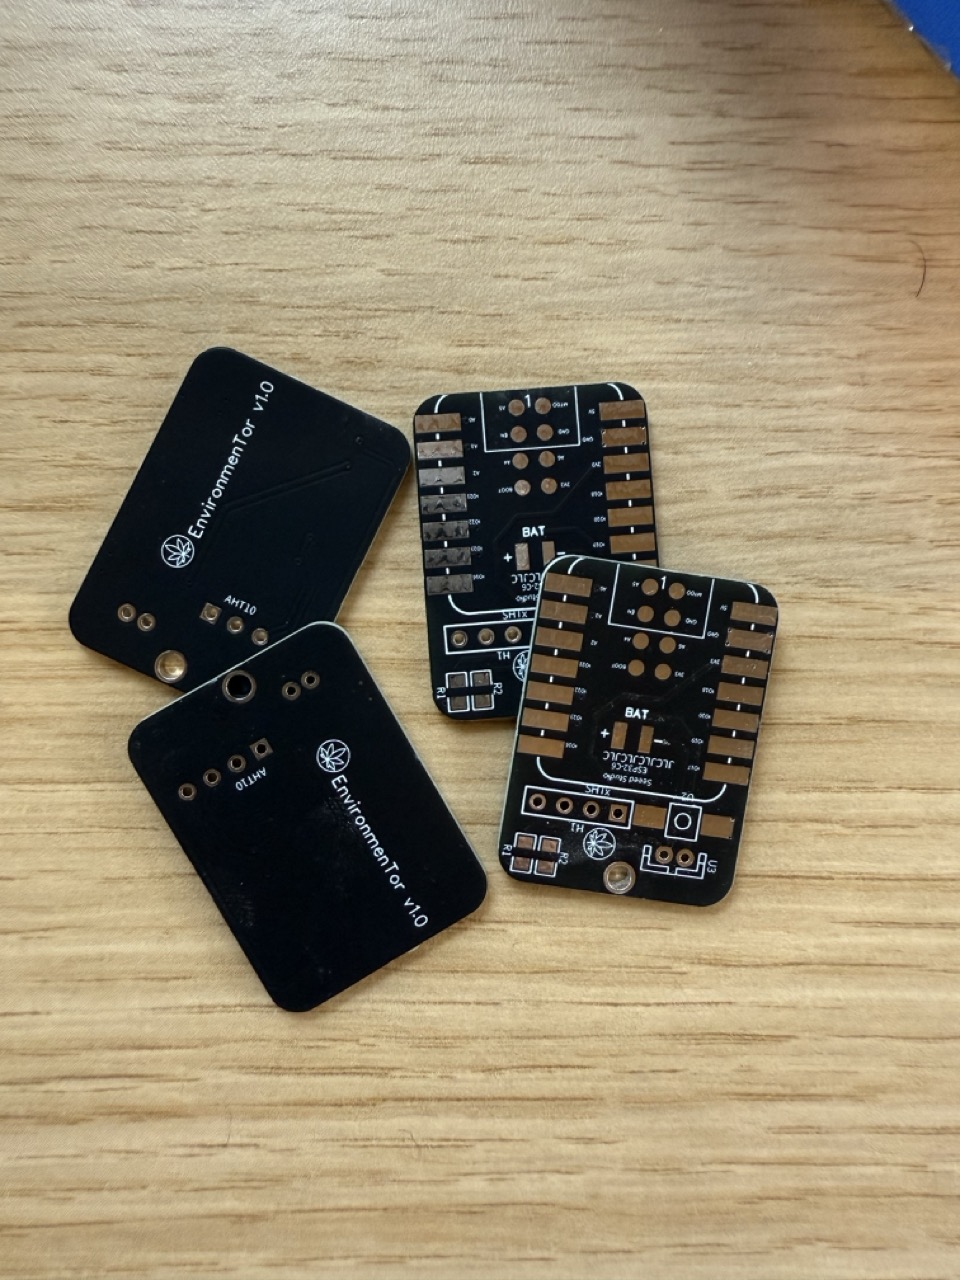
- Go to my GitHub repo and download the Gerber files from the
PCBfolder. - Use your favorite PCB fab service like: JLCPCB or PCBWay
- Upload the files. Everything can stay default except PCB color — I go with black, but pink’s a vibe if that’s your thing.
- On JLCPCB, under “Mark on PCB”, you can choose “Remove Mark” unless you want a serial number that looks like a phone number.
- Minimum quantity is 5, but the price is still hilariously low.
Heads up: If you’re in the US, keep new China tariff rules in mind. They might apply to PCBs and components shipped from China.
The Enclosures
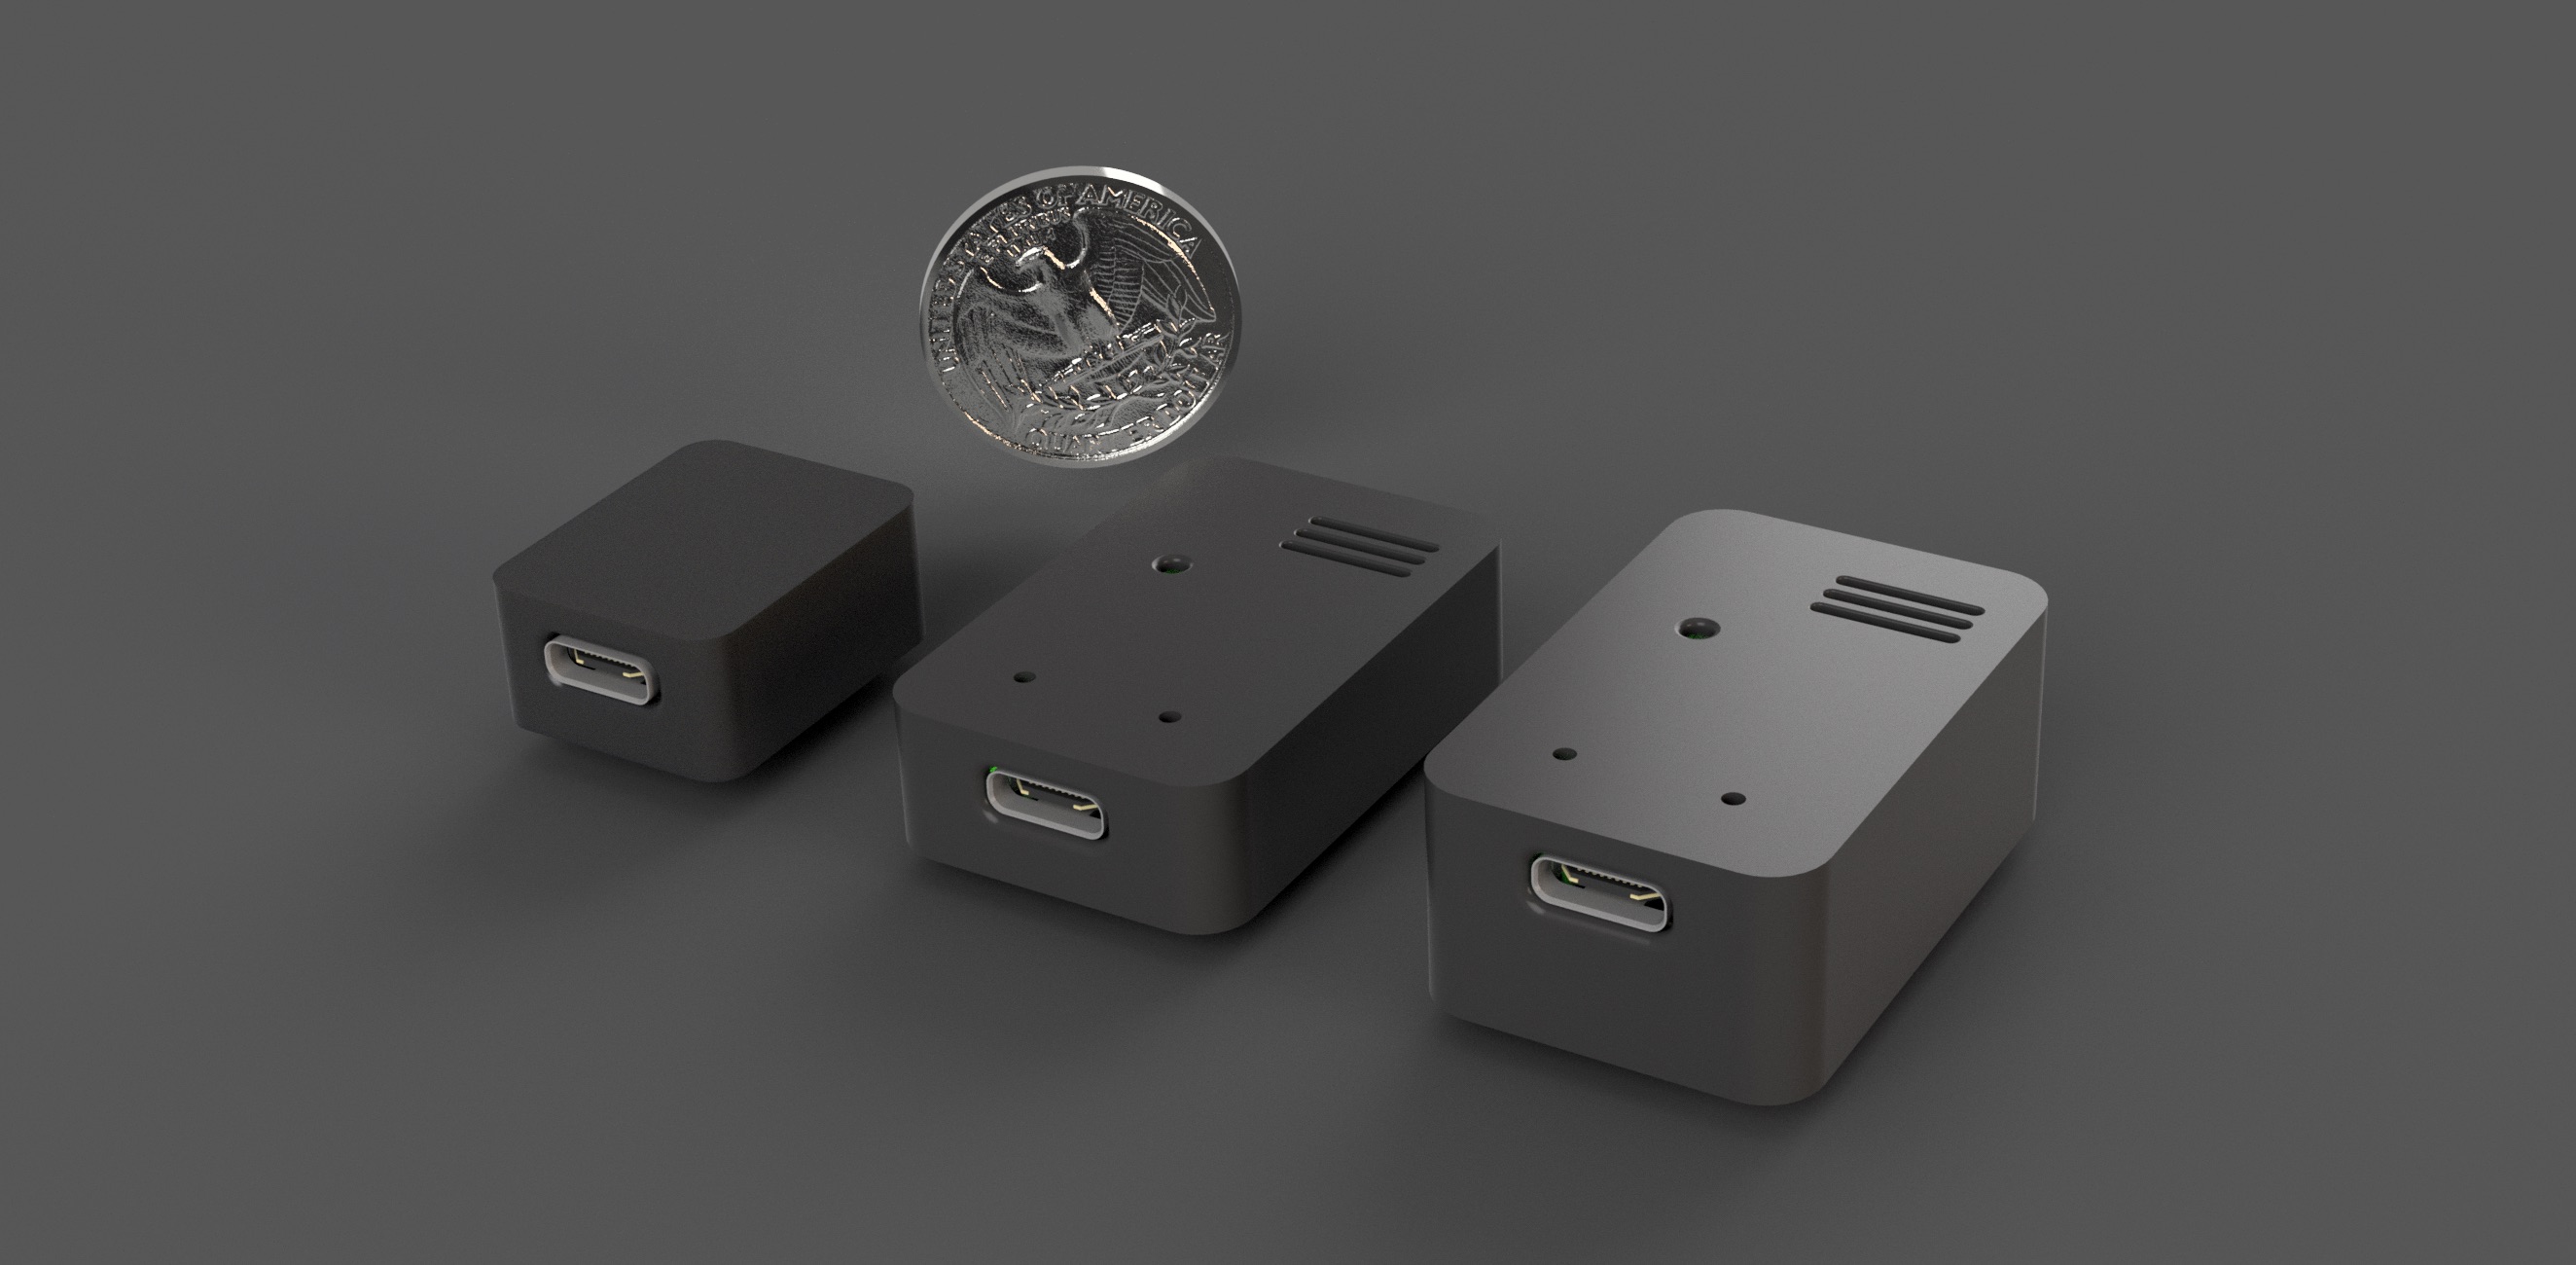
- Go to my GitHub repo and get the STL files from the
3Dfolder. - For the Hub (Server) you have the
Serverfolder, and for the Thermometers (Clients) you have theClientfolder. - Print with your home 3D printer.
Let’s Break It Down
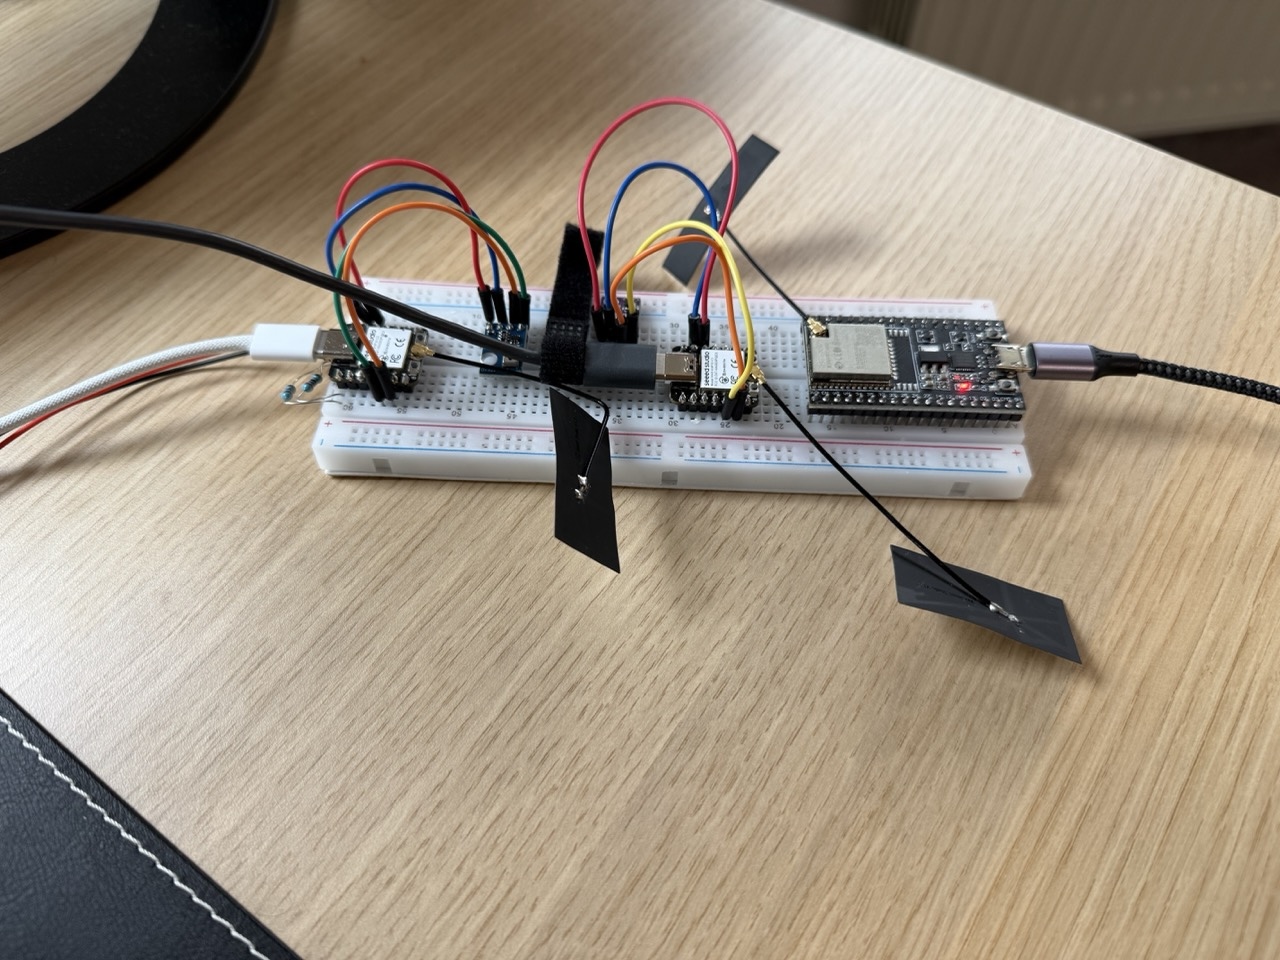 So while we’re waiting for our order lets break down the system to understand it better, if you’re not a geek like me or just here for the vibes you can skip that part.
The Hub (Server)
Acts as the central brain like your nosy neighbor: always listening, never sleeping - waits and receives data from all clients via REST API. It stores history, settings, and names and runs a Web server accessible from any device in your network. Since it’s a server, and it needs to…well…Serve, it needs to be connected to a power source at all times which allows is to save a buck and use the ESP32C3 version.
Bonus: The hub can also become a sensor! Hook up a sensor to its PCB, and boom — another thermometer.
If you opt for that make sure to print the “ServerWithSensor” enclosure under the 3D folder in the GitHub repo, it’s the same as the Client just thinner without space for a battery.
The Clients (Thermometers)
The Thermometers scattered everywhere are using the ESP32C6, mainly because of it’s very low power consumption on deep sleep mode. The highlevel workflow is that it wakes up every X minutes (3 by default, but you can configure it to more or less through the web app), take measurements from the sensor, sends it to the the hub and goes back to sleep.
Battery Life Estimates:
- 3-minute intervals: 1–2 months
- 5–10 minute intervals: 4–6 months
Honestly, unless you’re monitoring a lava lamp, 3 minutes is probably overkill.
How Pairing Works
When pairing starts, the client sends a “ping” to the hub.
The hub answers with a “pong”, and the client sends over its ID, MAC address, and other details.
The hub saves it in its pool of known devices, and from that point on, every time the client wakes up and sends data, it’s stored and made available to the Web interface.
Cool, right? RIGHT?
That’s it for today. In the next post, we’ll go through the assembly and installation process.
Stay tuned, and don’t forget to stretch your back..
Send me an email or use the contact form
Want to buy me beer 🍻? Use this link
~ TheBrightKnight