That was fast, welcome back!
This time, the software side of things is short and sweet. No complex logic, no deep algorithms—just read the sensor data, send it to the UI over REST, and repeat.
As with my previous projects, we’re spinning up a web server on the microcontroller, so you can monitor everything from anywhere. Simple, right? Well… almost.
The Fun Part: Modbus, or How to Make Your Life Difficult
There’s one tiny catch—the communication protocol. This sensor doesn’t just send easy-to-read data like a basic analog or I2C sensors. No, that would be too simple. Instead, it uses RS485 Modbus, a protocol designed for industrial use, which means it’s great for long-distance, interference-free communication but… let’s just say it’s not the most user-friendly thing ever.
Modbus commands require sending a slave ID, function code, and register address just to request specific data. If that sounds needlessly complicated, well, welcome to industrial protocols.
Let’s look at an example. Say we want to get the phosphorus level from the sensor. We’d send this command:
const byte phos[] = {0x01, 0x03, 0x00, 0x1f, 0x00, 0x01, 0xb5, 0xcc};
This might look like random numbers, but here’s what’s happening:
0x01→ Slave ID (sensor address)0x03→ Function code (read holding register)0x00 0x1f→ Register address (31 in decimal)0x00 0x01→ Number of registers to read (1)0xb5 0xcc→ CRC checksum (error checking)
Feeling like you’re back in engineering school? Same.
Next, we need to:
- Enable the RS485 module for transmission by setting the DE (Driver Enable) and RE (Receiver Enable) pins to HIGH.
- Send the Modbus request to the sensor.
- Switch the RS485 module to receive mode.
- Read the response byte by byte, store it, and extract the data.
Sounds fun, right?
But once that’s done, everything else is smooth sailing. We just build the REST endpoint to return the values and design a web UI to display them.
But Wait… Where’s the Wow Factor?
If you’ve been following this blog, you know we can’t just stop at functional. It has to be awesome. So awsome you can imagine this guy from the Bring It On movie that brought you the finger wings, wait.. windy fingers… no that can’t be right… Spirit Fingers!!!

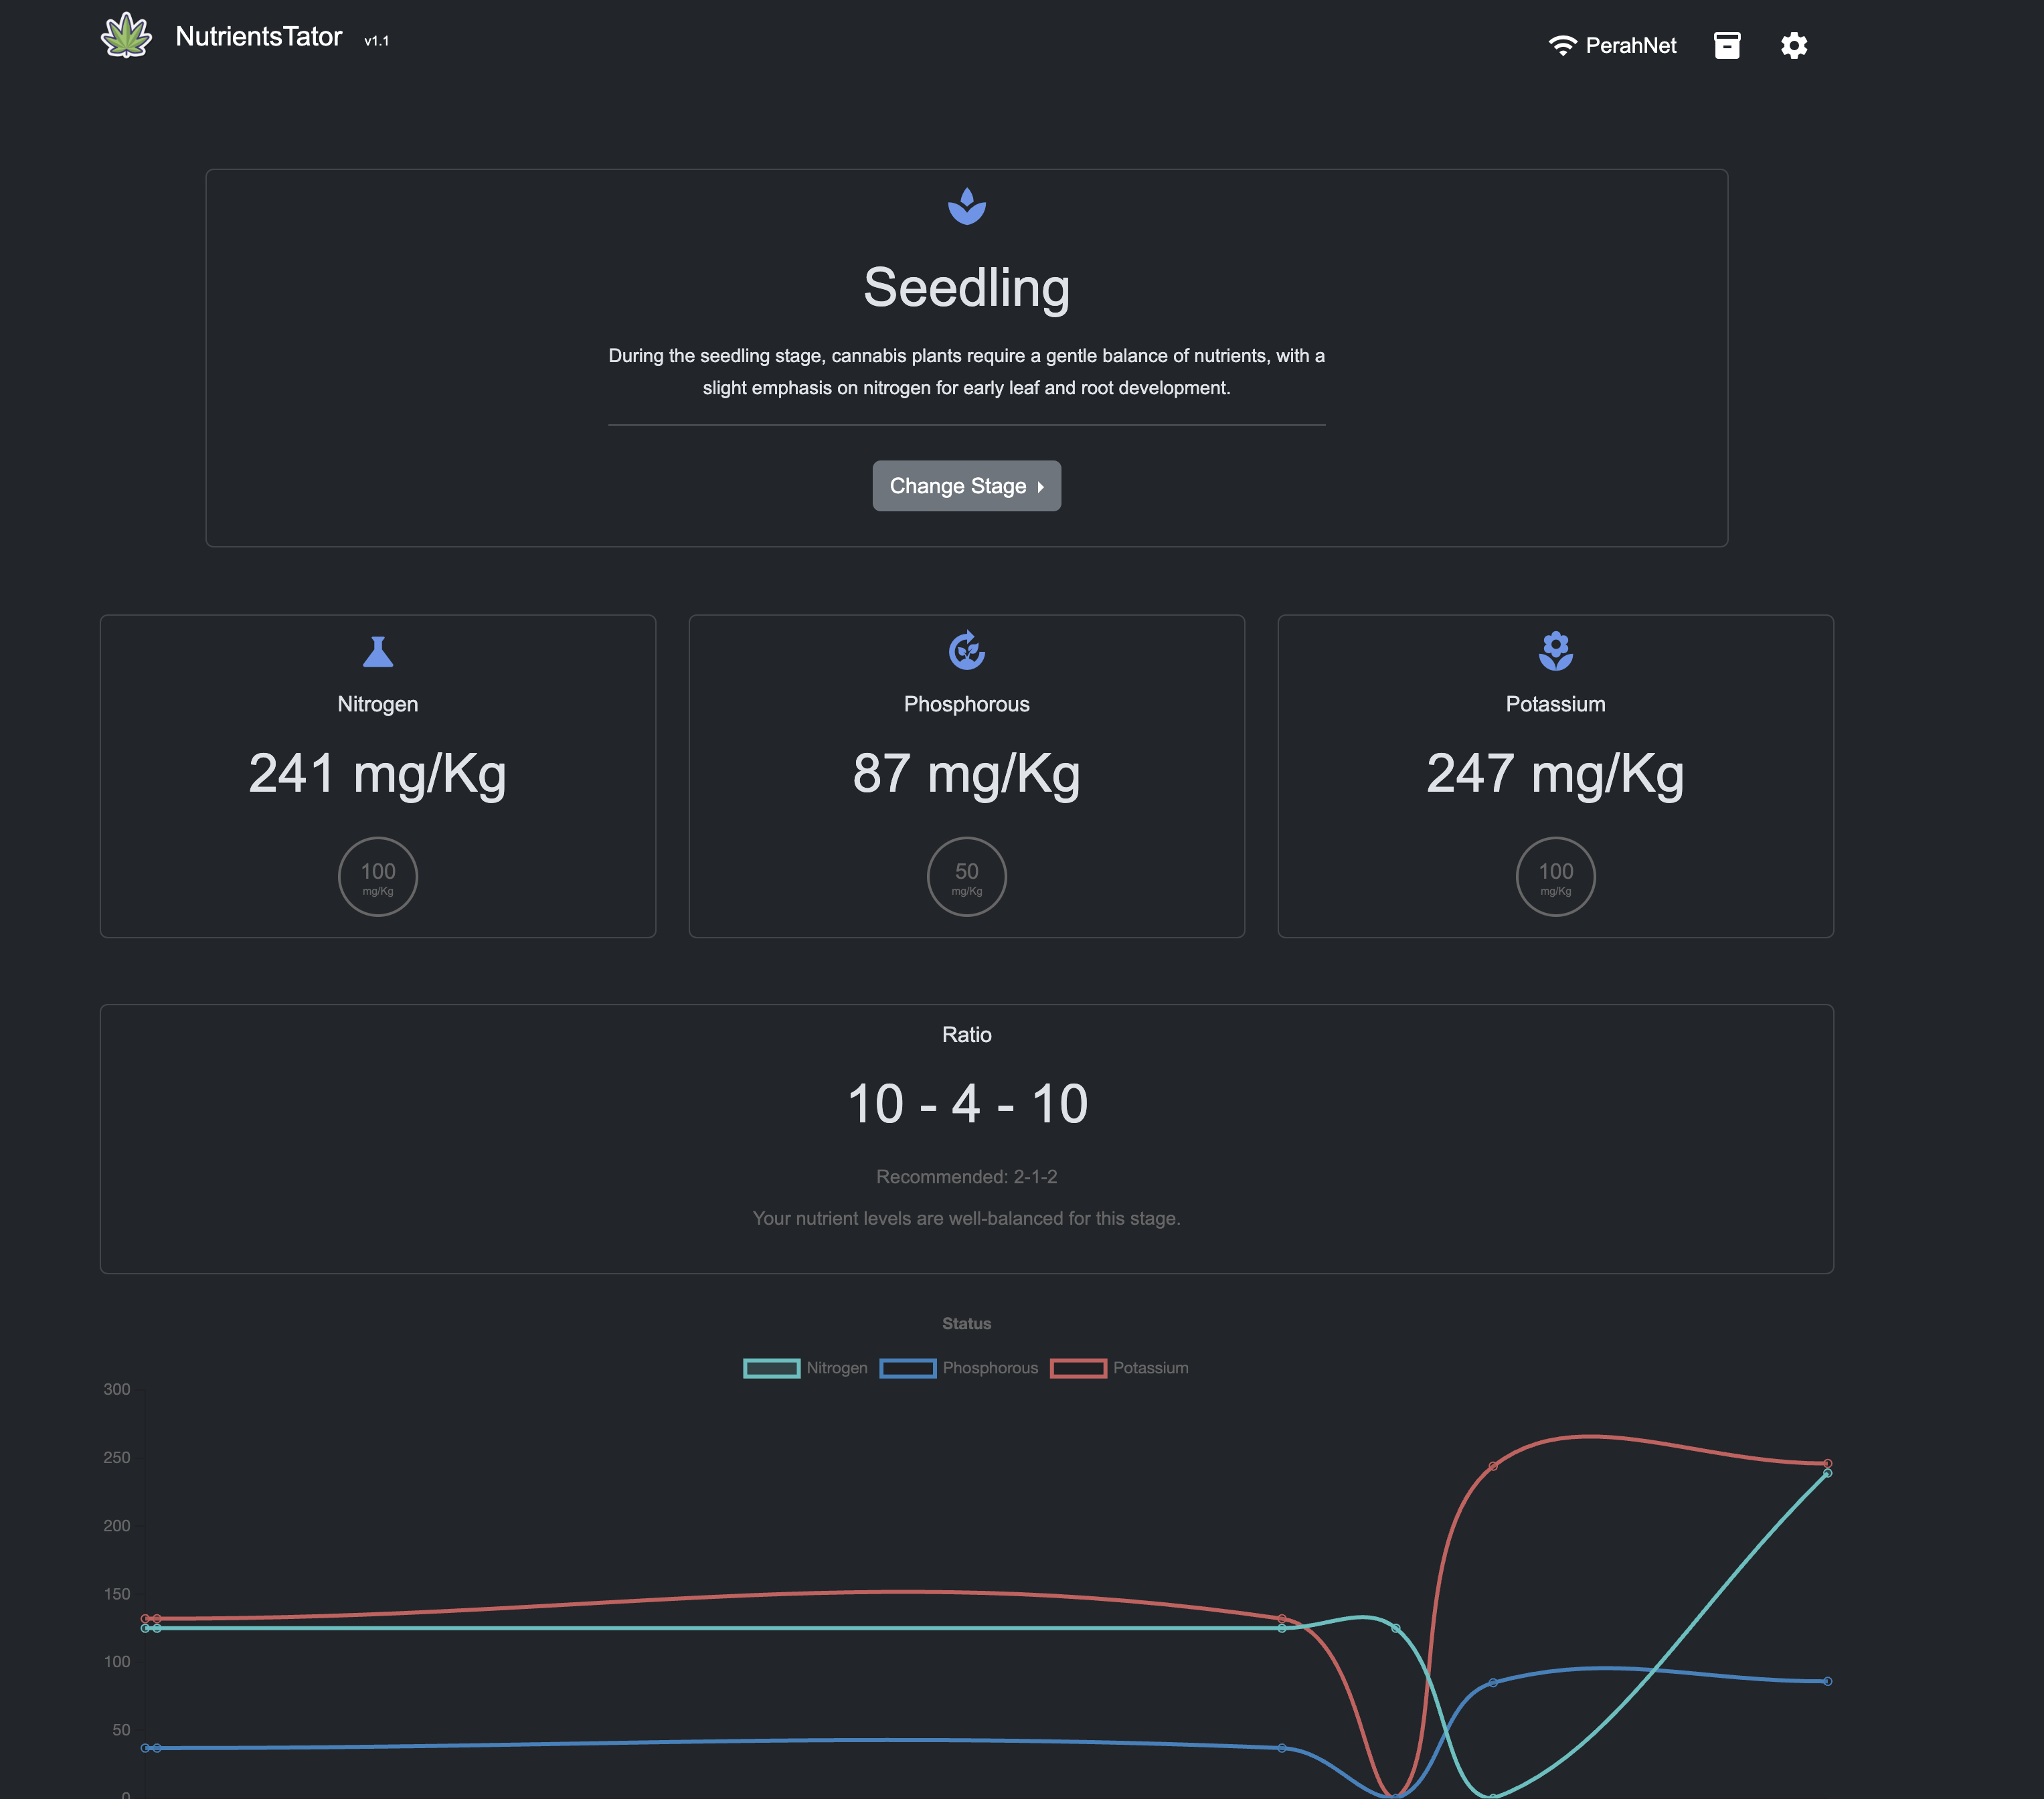
So instead of just displaying numbers, why not add smart insights based on the plant’s growth stage?
Yes, you can select the stage your plant is at, and the system will provide recommendations based on live sensor data. Here’s what you’ll get:
- A short explanation of what’s happening at this stage.
- Recommended nitrogen, phosphorus, and potassium levels compared to your current readings.
- Nutrient ratio analysis to see if your balance is off.
- Suggestions if one or more nutrients need boosting.
- A chart that shows how your NPK levels change over time, because charts make everything look more professional.
And it’s magnificent.

Getting It Up and Running
Once you’ve uploaded the firmware to your ESP32, a new WiFi network called NutrientsTator will show up in your network list.
- Grab your phone or tablet and connect to NutrientsTator WiFi network.
- Wait a few seconds—your browser will automatically open.
- Click on Configure WiFi, wait a few seconds and on top of the page select your home network.
- Enter your WiFi password, save, and wait a few seconds.
And just like that, you can open a browser on any device connected to your network and go to NutrientsTator.local
Now you have real-time NPK monitoring right at your fingertips.
Send me an email or use the contact form
Want to buy me beer 🍻? Use this link
Hope you enjoyed this light and fun project. Your plants are about to get so fit, they’ll be flexing like Johnny Bravo.
Until my next craziness!
~ TheBrightKnight